Assembling a Retro Chip Tester Pro
I’ve been considering adding a chip tester to my lab for some time now, but I’ve never quite taken the plunge. BackBit, whom I know well because I have a BackBit Pro cartridge that I use to load software onto my 8-bit computers, has the Chip Tester Pro V2. I was close to buying one, but I found it somewhat expensive, and importing it from the US didn’t help, so I waited.
Recently, though, I learned about the Retro Chip Tester Professional from my friend Luís Correia, and I started researching it. Needless to say, I was hooked and had to have one for myself.
Buying it wasn’t easy. After contacting the author, Stephan Slabihoud, and informing him of my requirements, I received a quote and payment instructions. However, even though Stephan is in Germany, he doesn’t ship to Portugal. Reasons are here. So I had to proxy the order through a friend in the Netherlands who then brought it to me when he visited Portugal.
Typically, he’ll send you the bare PCBs of the mainboard with the ATmega2560 and the PCBs of the adapters you want, along with credentials to download all the documentation and firmware files. Then, you’ll do the rest: order all the components from DigiKey, Mouser, or a similar supplier, and assemble it yourself, which I did.
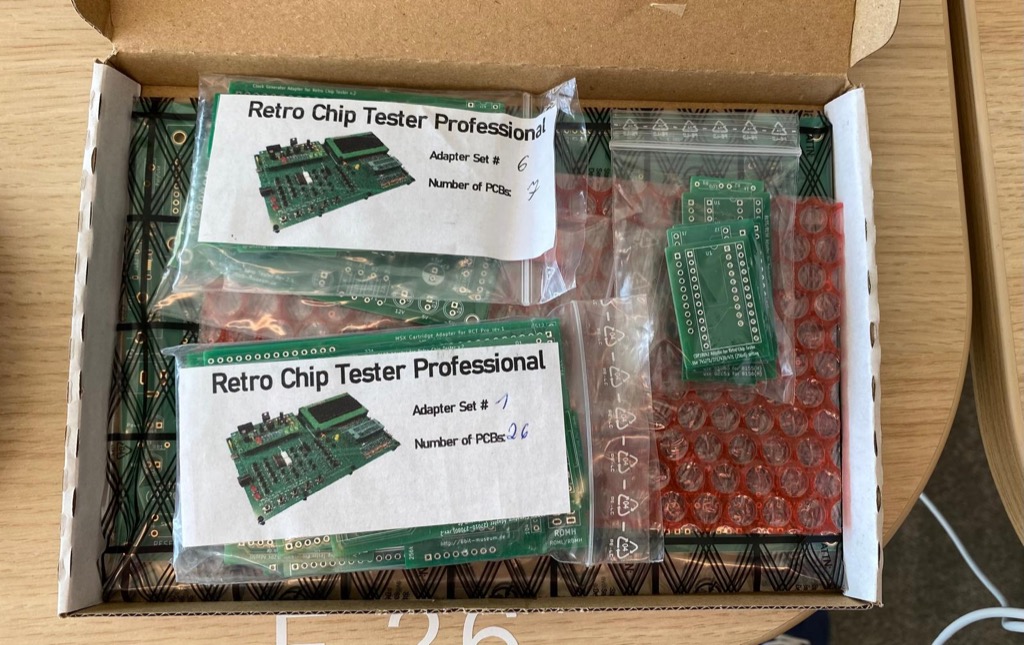 The PCBs have arrived
At some point, I finally had all the necessary items ready to start assembling the kit.
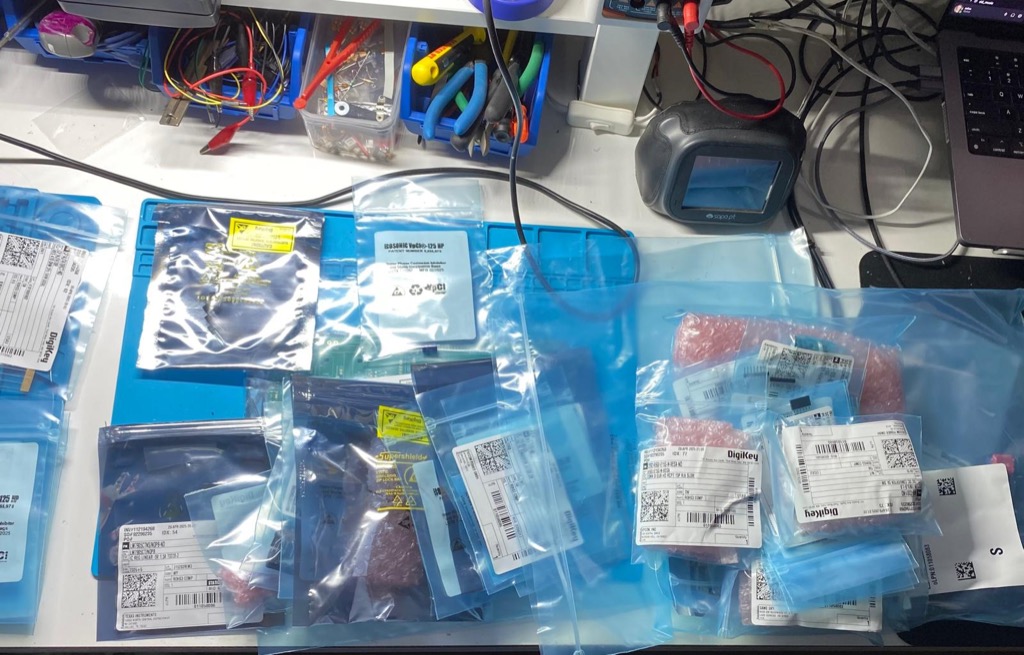 It's Christmas, courtesy of DigiKey
I began soldering the components one by one while reading the highly detailed and professional documentation that Stephan provided, and had exactly zero technical issues or questions in the process. The documentation is top-notch, with clear instructions and pictures of the components to use, as well as interactive BOM lists, so I was able to follow it without any problems.
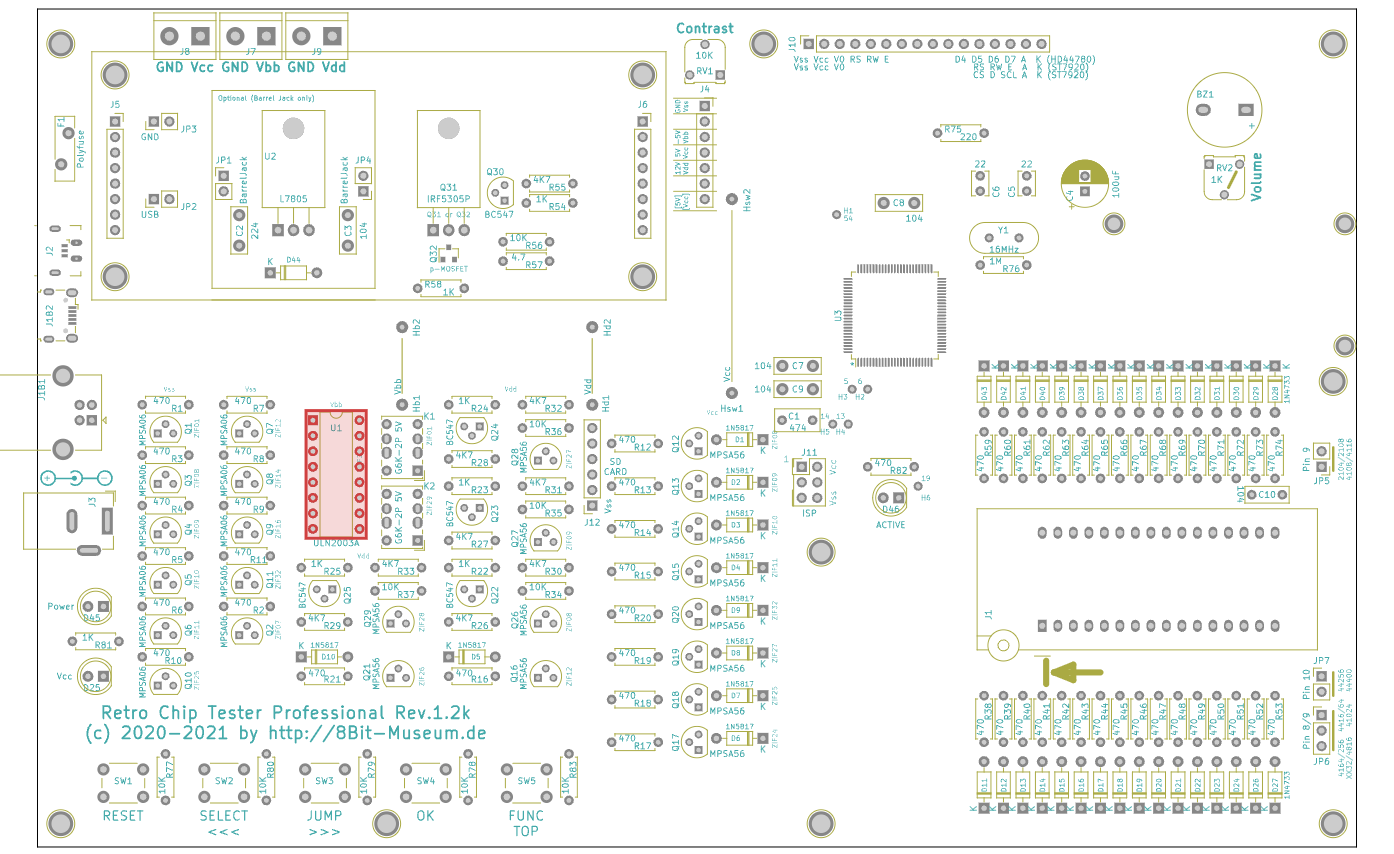 Interactive layout to identify the BOM parts on the motherboard
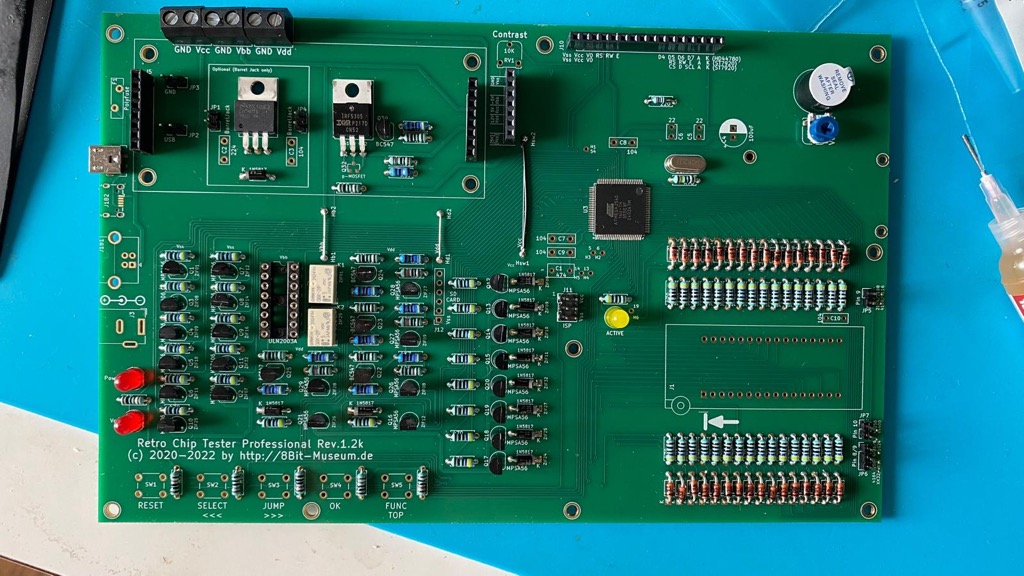 A few hours of soldering later
Of course, no technical project of mine is complete without the occasional #celsada. I purchased a 2-line display instead of the required 4-line version. Amazon to the rescue, problem solved two days later.
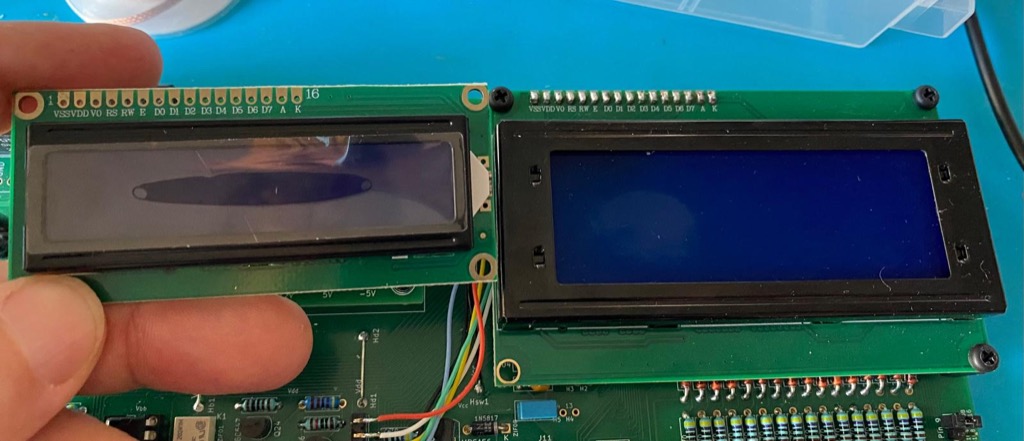 Srsly Celso!
After assembling everything, I proceeded to set the fuses of the ATmega2560 and flash it with the latest firmware using avrdude and my AVRISP MKII programmer, which was connected to the ISP headers on the mainboard.
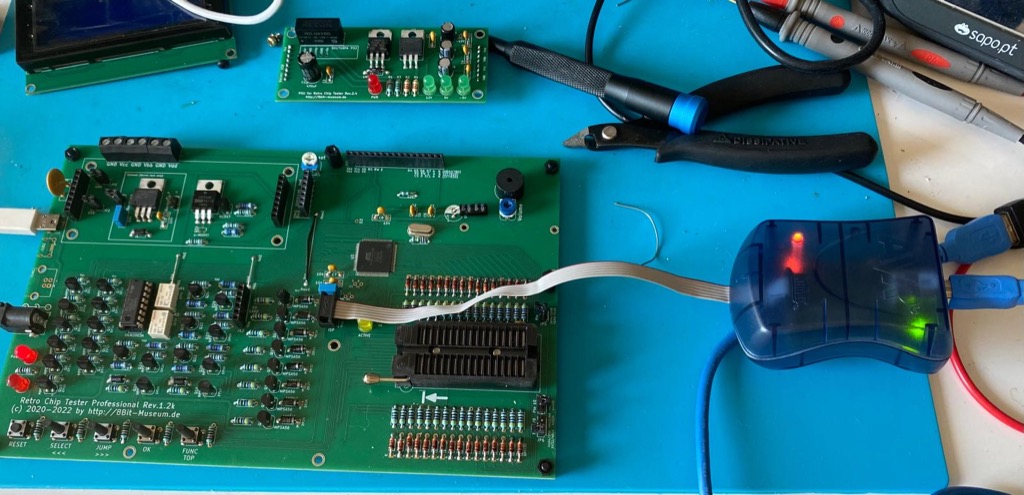 Flashing the firmware
I then finally turned it on for the first time using the 5V micro USB connector. The menu was shown on the display. The DC/DC converter lit the 12V, 5V, and -5V voltage LEDs. Everything was working fine.
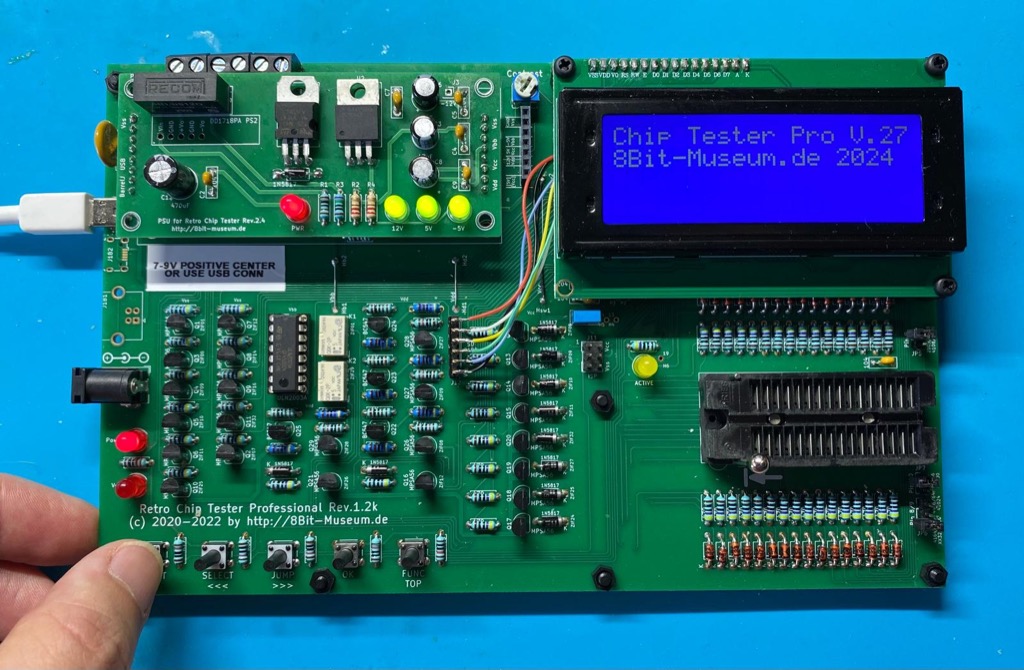 First boot
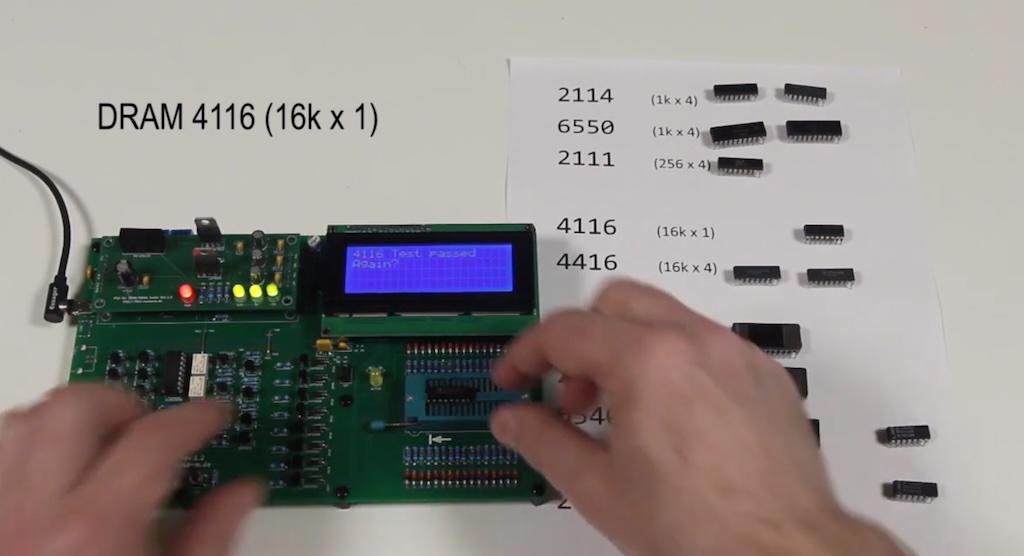
I then tested the first chip, a 4164 DRAM memory. I placed the chip in the ZIF socket, selected the 4164 from the menu, and pressed the test button. The tester executed the tests, beeped, and showed “Test passed” on the display. Success.
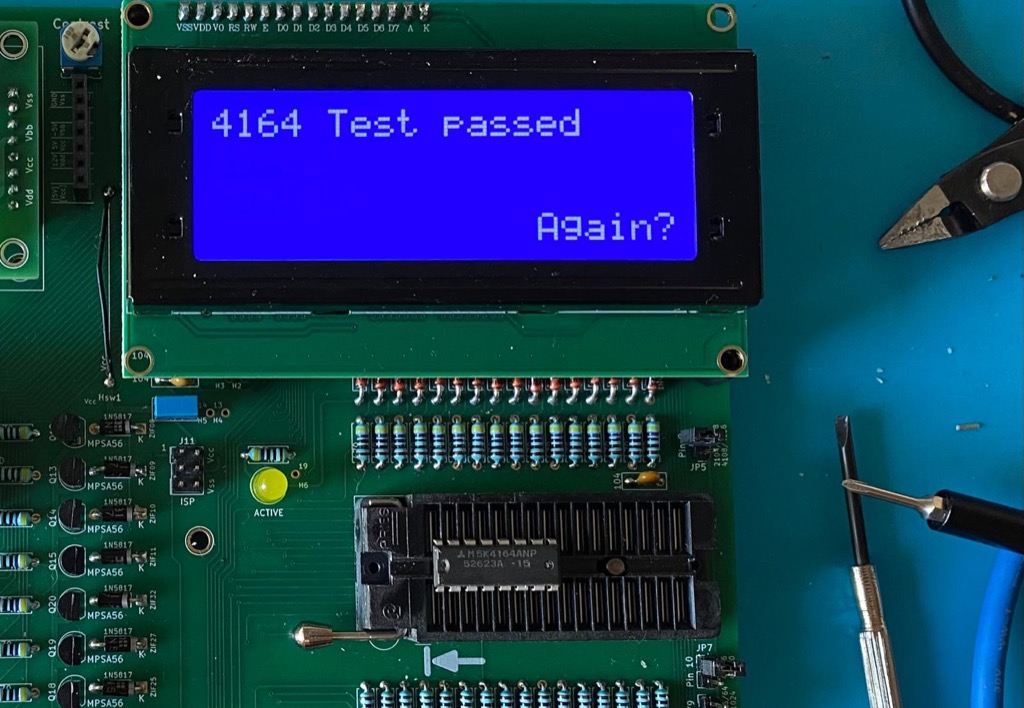 This 4164 DRAM seems OK
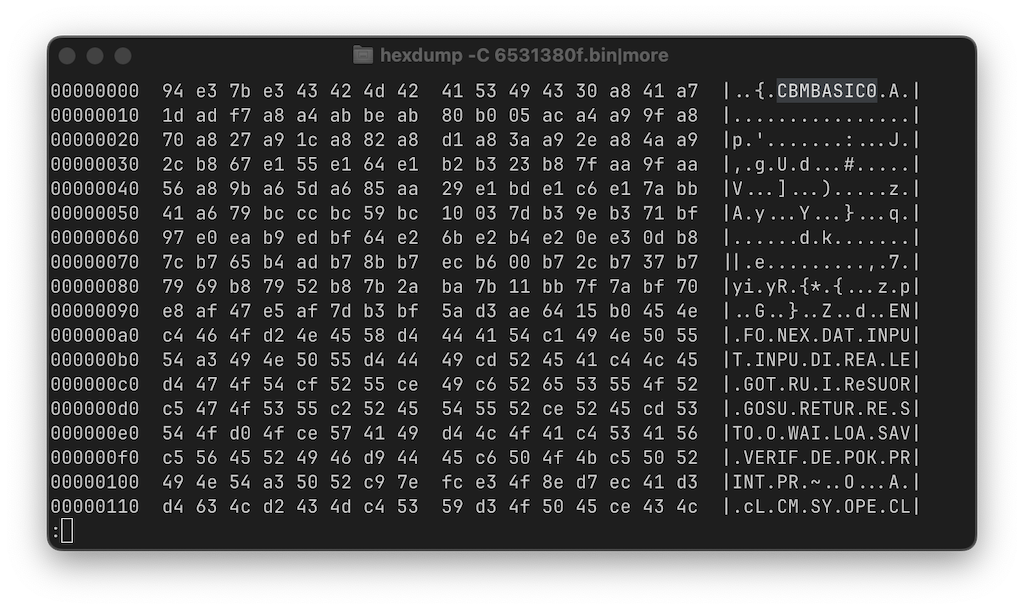
But the RCT is so much more than a tester. It can also read (E)(P)ROMs and dump their contents into an SD Card. It can even program them, with small adapters. Let’s go ahead and read the content of a C64 BASIC ROM, the 251913-01, which is compatible with the 2764 EPROM. I placed the ROM in the ZIF socket, selected the 2764 from the menu, and pressed the read button. The tester read the ROM and saved it to the SD Card.
 Dumping the contents of the 251913-01 C64 ROM
Looking at the dump file on my computer, I can confirm that it’s indeed the C64 BASIC ROM.
I have a multitude of adapters that I haven’t assembled yet, but I will do so as needed. For example there’s one adapter to dump C64 cartridges, another one to test SIMM modules, and many more.
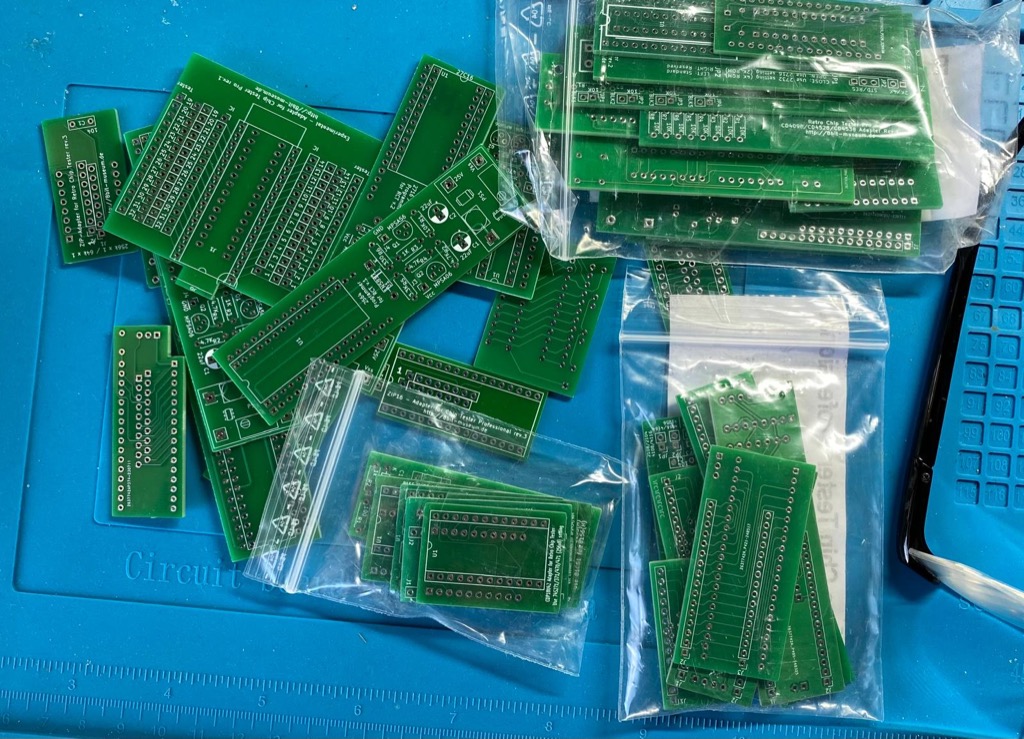 Retro Chip Tester Pro adapters
Even though the RCT is technically not open-source, Stephan did a fantastic job documenting every detail, including the schematics and BOMs of all the boards. The user manual alone spans 170 pages. It has a thriving community on Reddit, where the author provides updates and answers questions. The boards get new revisions periodically, and new firmwares come with new features and bug fixes.
It is essential to note that the RCT and the BackBit Chip Tester are two distinct products, with different target use cases and testing techniques. While the RCT employs a pure vector-based testing technique, where it expects specific outputs for different inputs, but is unaware of the chip’s logic, other testers, such as the BackBit Chip Tester, have specific logic tailored to certain chips. These tests are often more complex and require more memory and different specs. This is why it isn’t easy for the RCT to test things like a MOS 6522, MOS 6502, or other custom chips.
On the other hand, the list of chips that the RCT can test is quite extensive, and it continues to grow with firmware updates and small adapters. The community is great and very active. And I’ll repeat, the RCT is not just a tester; it is also a ROM dumper and a programmer. You can connect it to a breadboard and use it to test your circuits. It is a very versatile tool.
RCT is going to help me a lot with troubleshooting, repairing, and tinkering with my retro computers and other electronics.
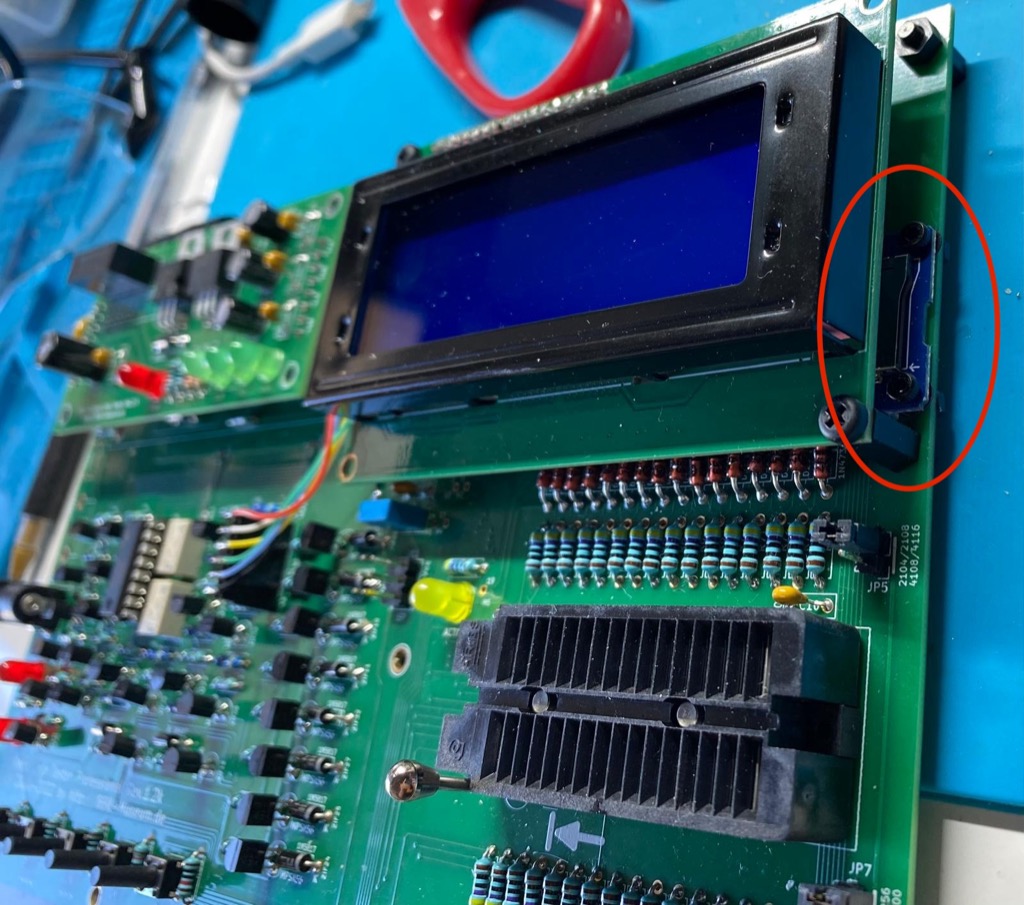 Side view. You can see the SD Card module.
Since I bought one of the most complete kits from Stephan, he added a bonus: a replica of a small logic tester from the 1970s. It’s a beautiful item, but this is something for another post - stay tuned.