g5kintosh
Here’s a story by this guy who enjoys a good hack, crazy for all things tech vintage, who needed a new computer. He wanted a new OSX based system, he decided to build his own. Yes, it’s yet another hackintosh how to guide and yes, it’s me.
I have a ton of Appleish gear in my life. You name the device, I probably have it. Call me a fanboy if you need to. From where I stand, I’m just someone with a strong Unix background (never really used anything else since I quit the Amiga back in the 90s), a desktop Linux user since the slackware distro, and a sucker for great operating systems that help me do my job most efficiently. My most used and important productivity tool is the command line prompt, undoubtedly. About a decade ago, I quit Gnome and my Debian laptop, gave a try to OSX and bought a Powerbook G4 laptop and never looked back ever since.
I do a lot of video and photo editing at home so I decided it was time to upgrade my desktop setup in order meet the requirements of modern editing software and HD based footage. I don’t switch computers often, so when I do I aim for high end systems, even if it costs me a bit more.
I decided I would build an hackintosh with a twist. I would use a beautiful old G5 Power mac case instead of the dull classic PC cases.
This is how I did it.
The setup
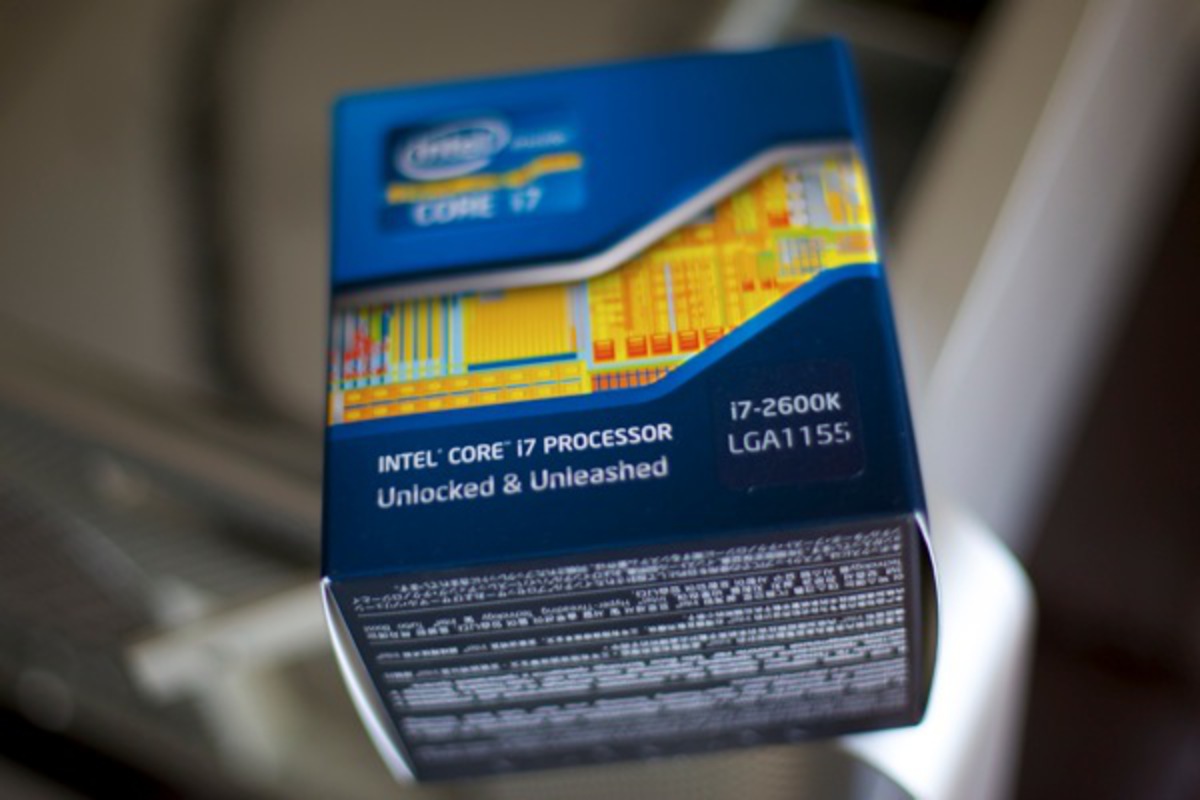
This is the list of parts I used for my new system:
- Intel Core i7 2600K
- Radeon 6870 (Gigabyte ATI version GV-R6870OC)
- Motherboard GA-Z68XP-UD5
- 16 GB DDR3 1600 Corsair
- Kingston 128G SSD SATA II disk (Boot disk) SVP100S2128G
- Power supply and some 1TB SATA II HDDs to complete
The case
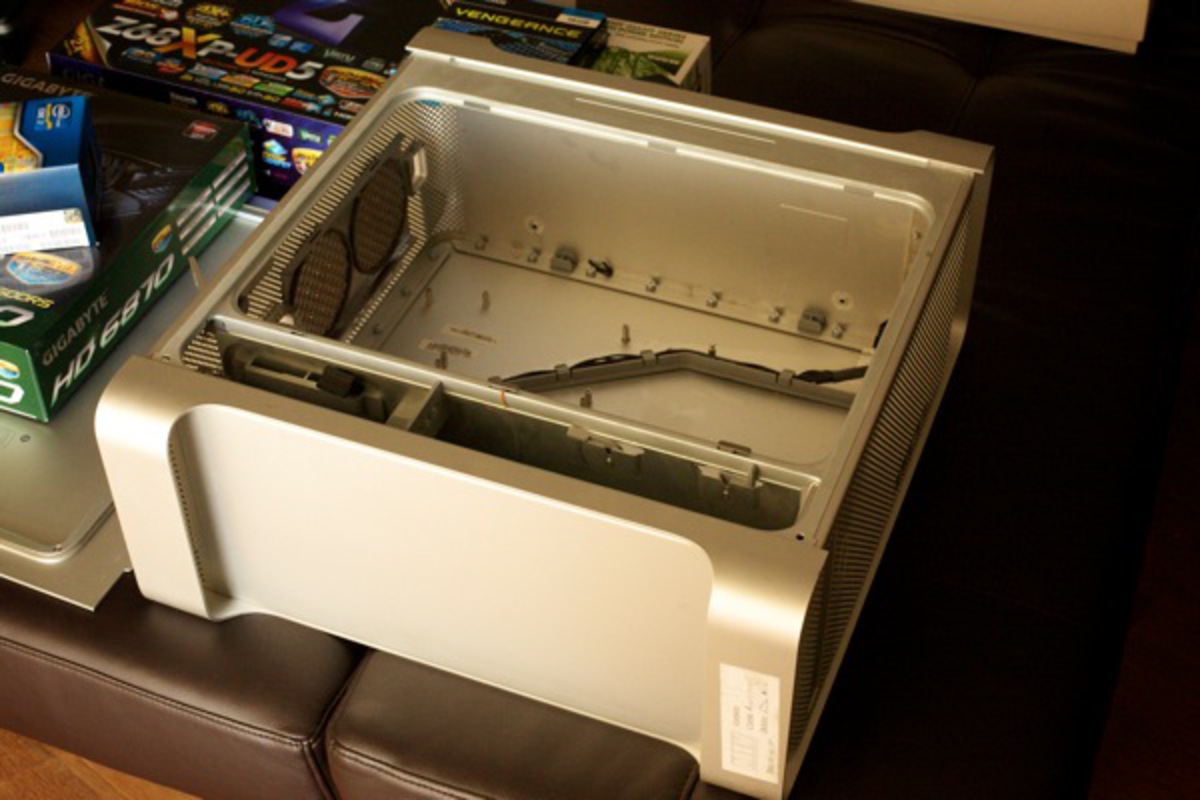
I’ve always found the G5 Power Mac cases a work of art. Its rock solid, professional aluminum chassis looks are just gorgeous. You can find some of these old cases at eBay for very low prices. I got mine from a friend, thanks Pedro.
Adapting the case to the ATX mobo
The G5 Power Mac cases weren’t made to fit an ATX motherboard. The screw holes are in different positions, back panel and wire connectors are different too, some severe adaptations had to be made.
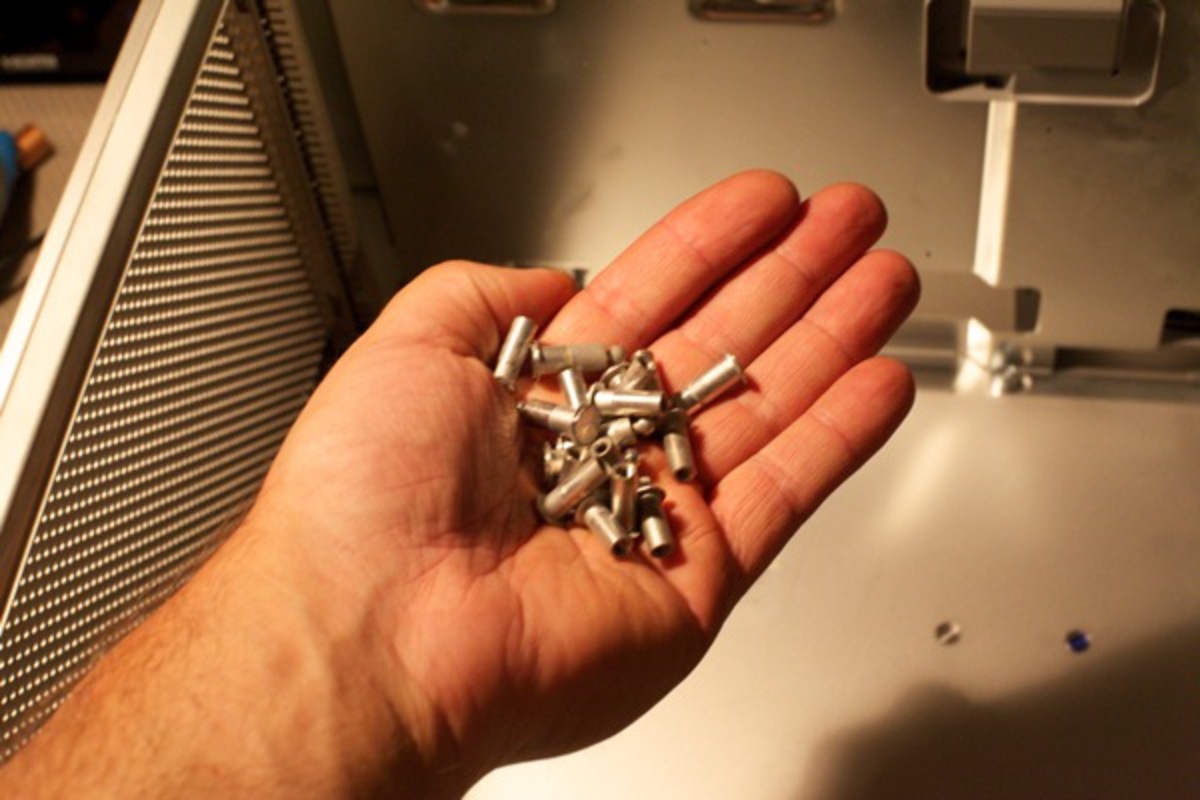
First things first, taking the screw holders off the case. To do this, I got a pliers are forced the screw holders from one side to the other, and they came off easily. I will use these holders later.
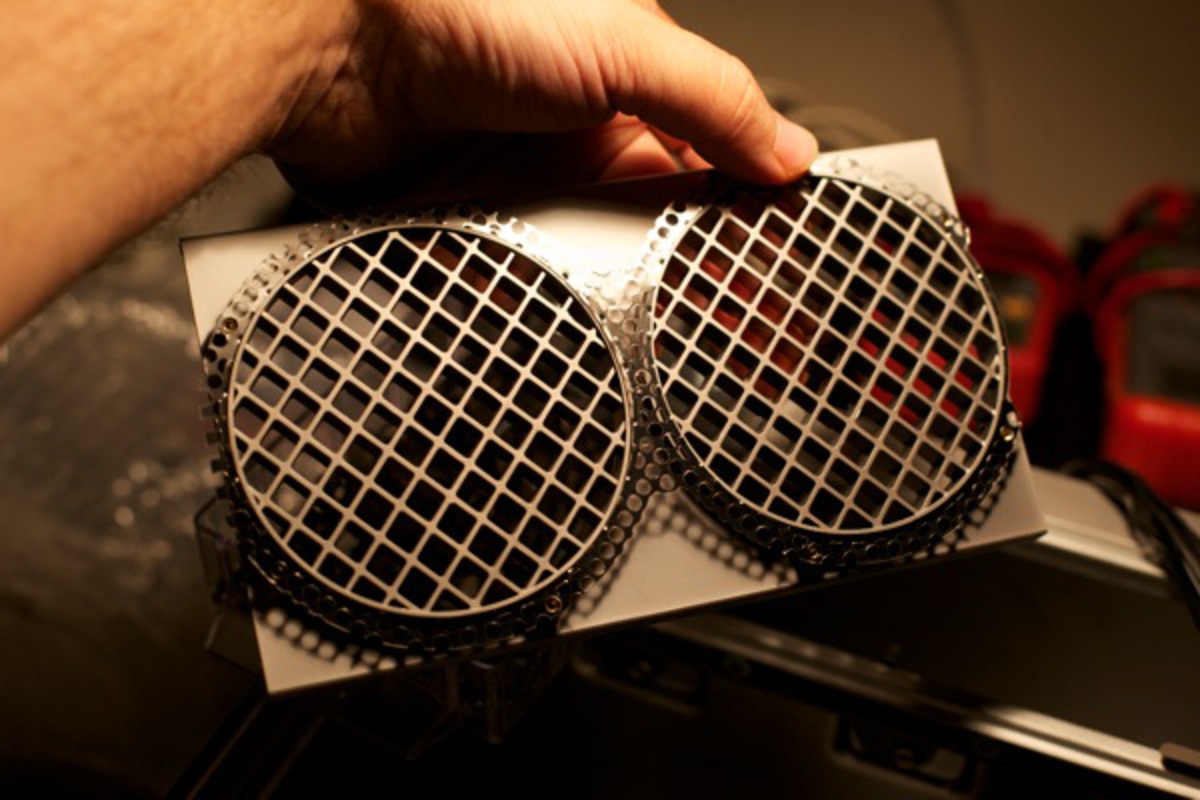
Unscrewed and took the ventilation plate and nets off.
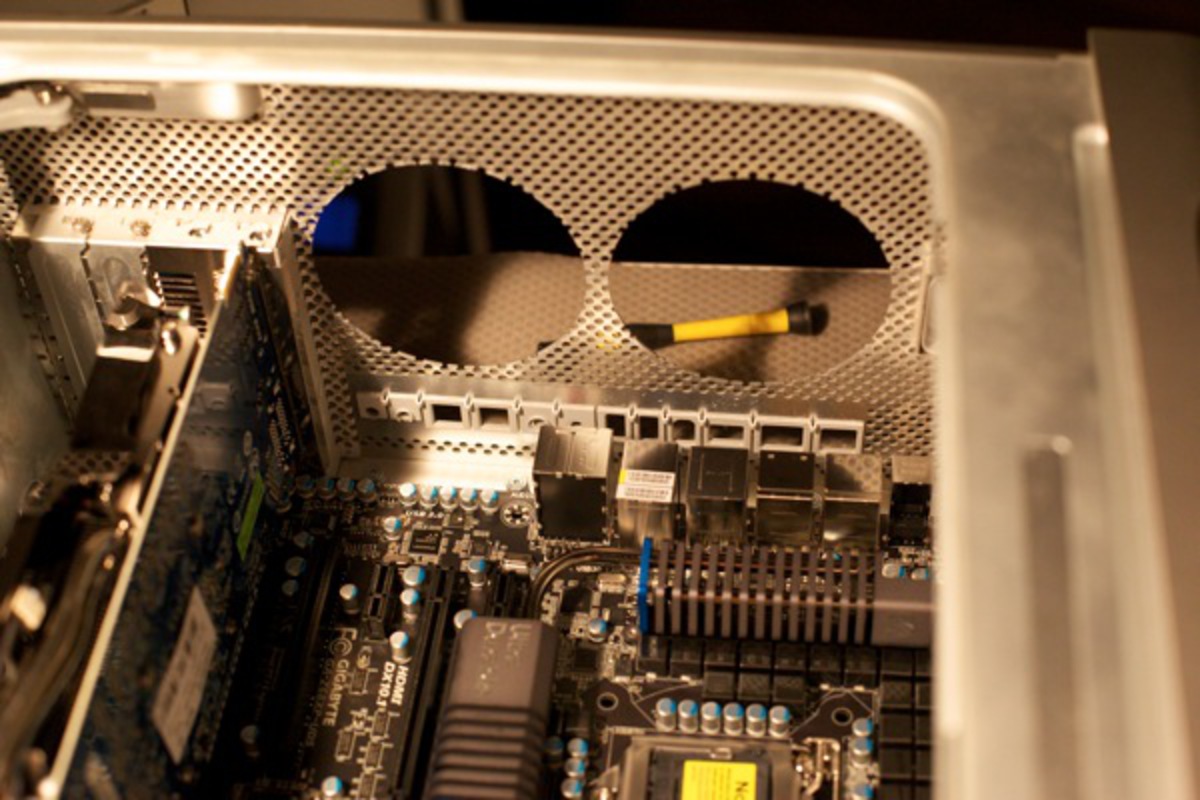
You can see that the ATX motherboard fits the available space, and that the GPU fits the PCI slots (which are standard and common to the Power Mac) perfectly, but the back panel connectors just don’t match the case’s back plate. So we need to get a new hole in the case to reach them.
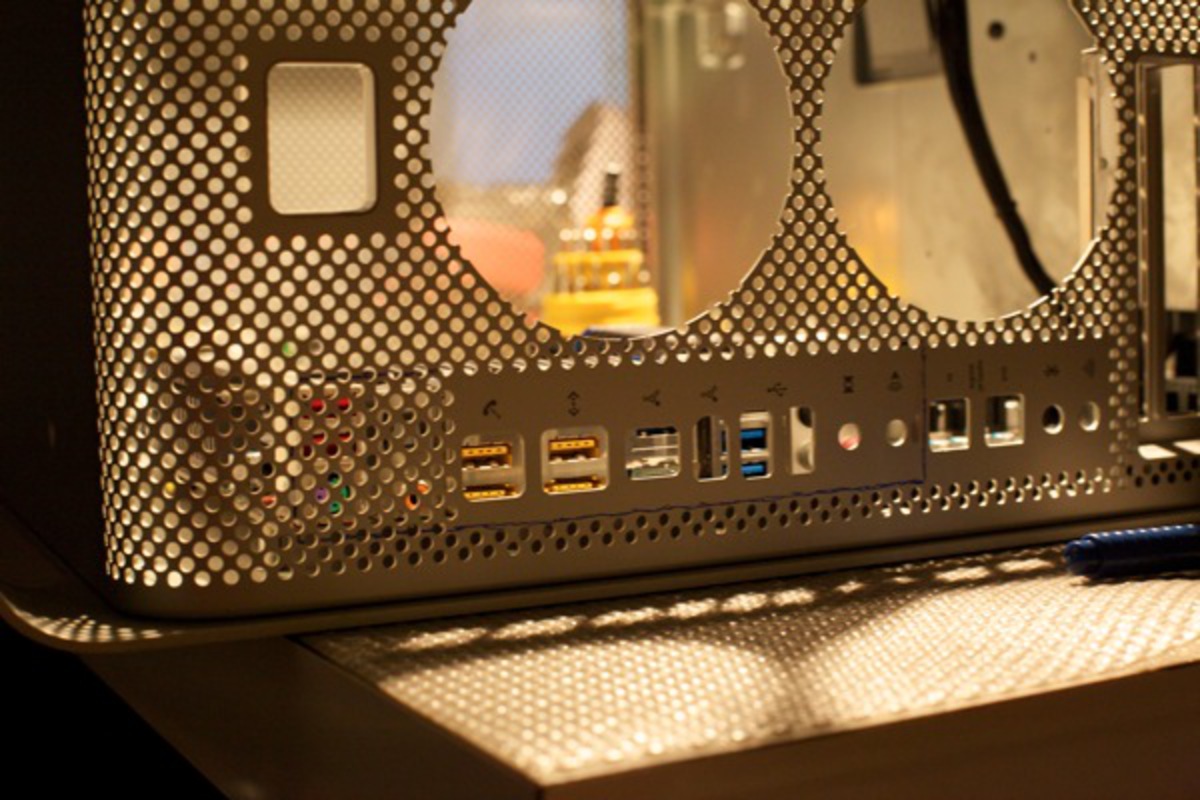
This is what I needed to cut in order to reach for the motherboard connectors.
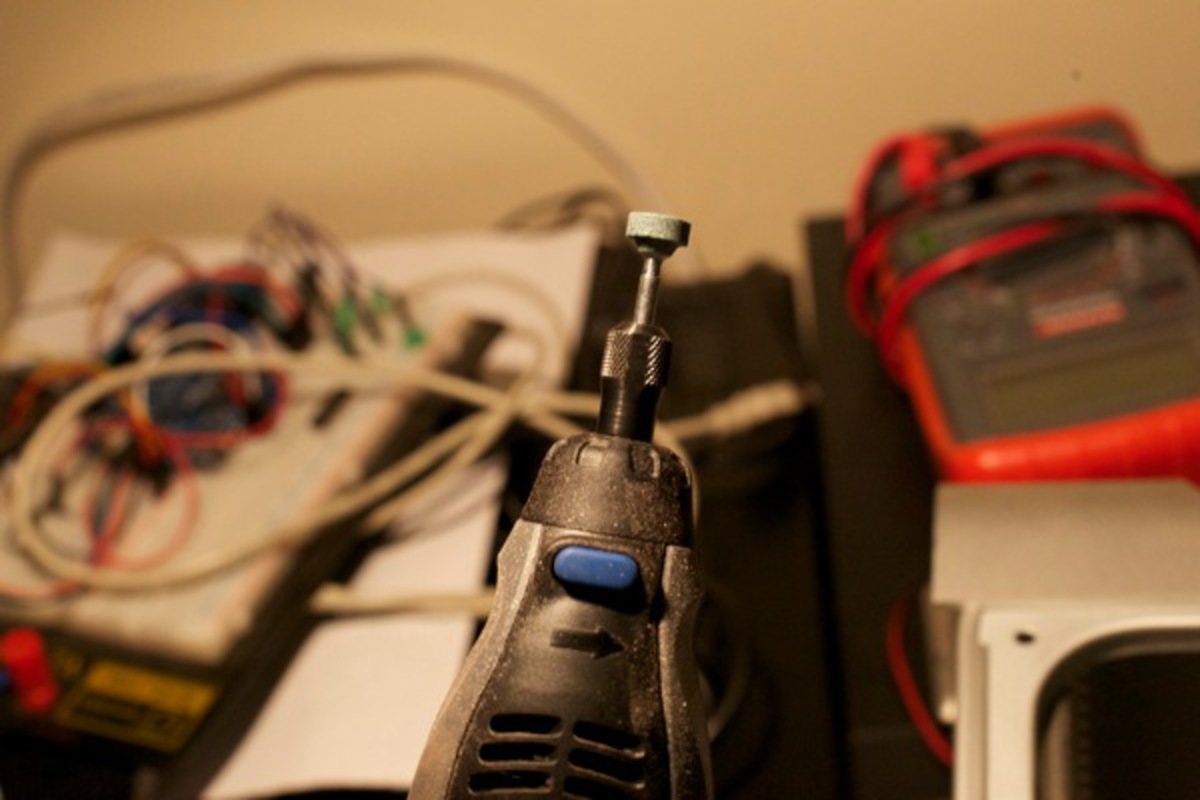
Dremel to the rescue. Aluminum is relatively easy to cut, just used the appropriate blade (not the one on the picture). PS: If you’re going to do this, wear protective glasses for god’s sake.
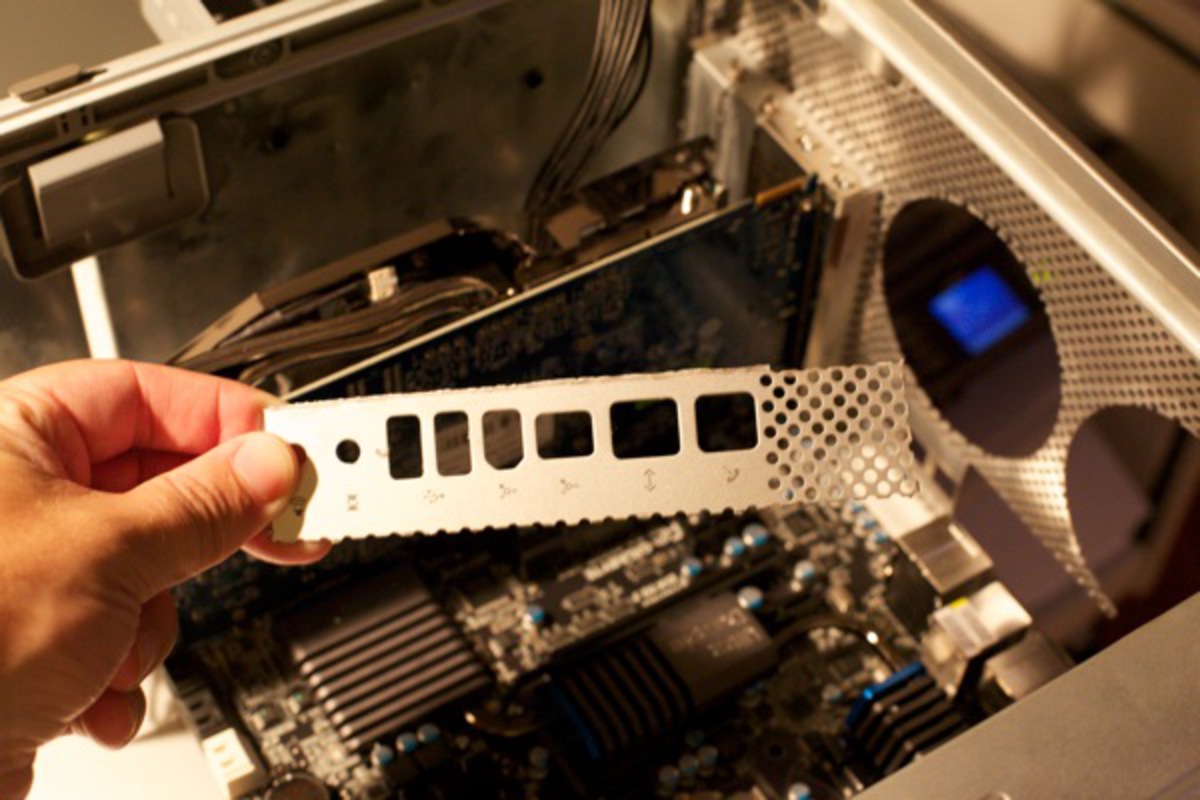
Not a work of art, but good enough, used a file tool to soften the edges later.
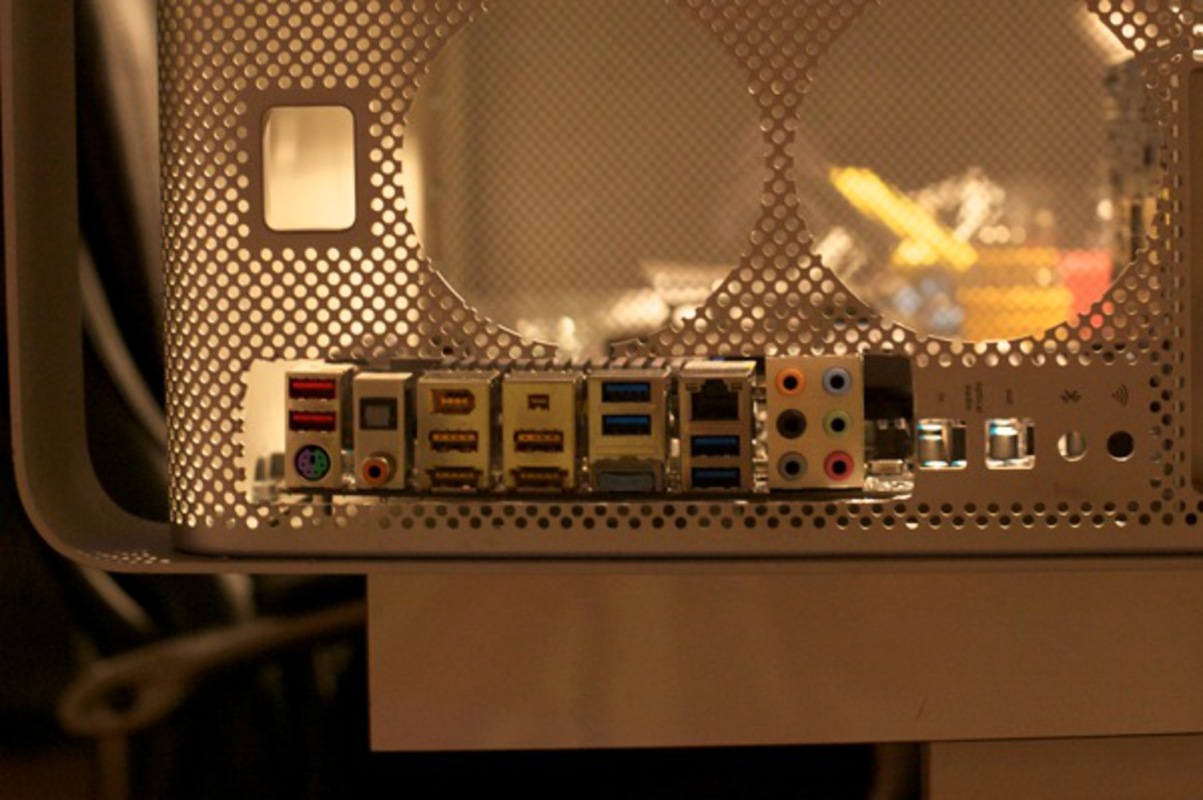
Hey. It’s a back panel for a reason. I almost never see it.
Fixing the motherboard to the G5 case
There are many ways to do this, look for G5 mods over the web, you’ll find a few techniques. I decided to go innovative on this and I actually think I got it brilliantly right.
I took the G5 motherboard screw holders that I previously pulled off and screw them into the new ATX motherboard holes.
Then I placed the new motherboard in the case, correctly aligning the PCI slots and the new rear entrance using the GPU as a reference. Finally I carefully marked the spots where I needed to fix the holders with a PCB pen.
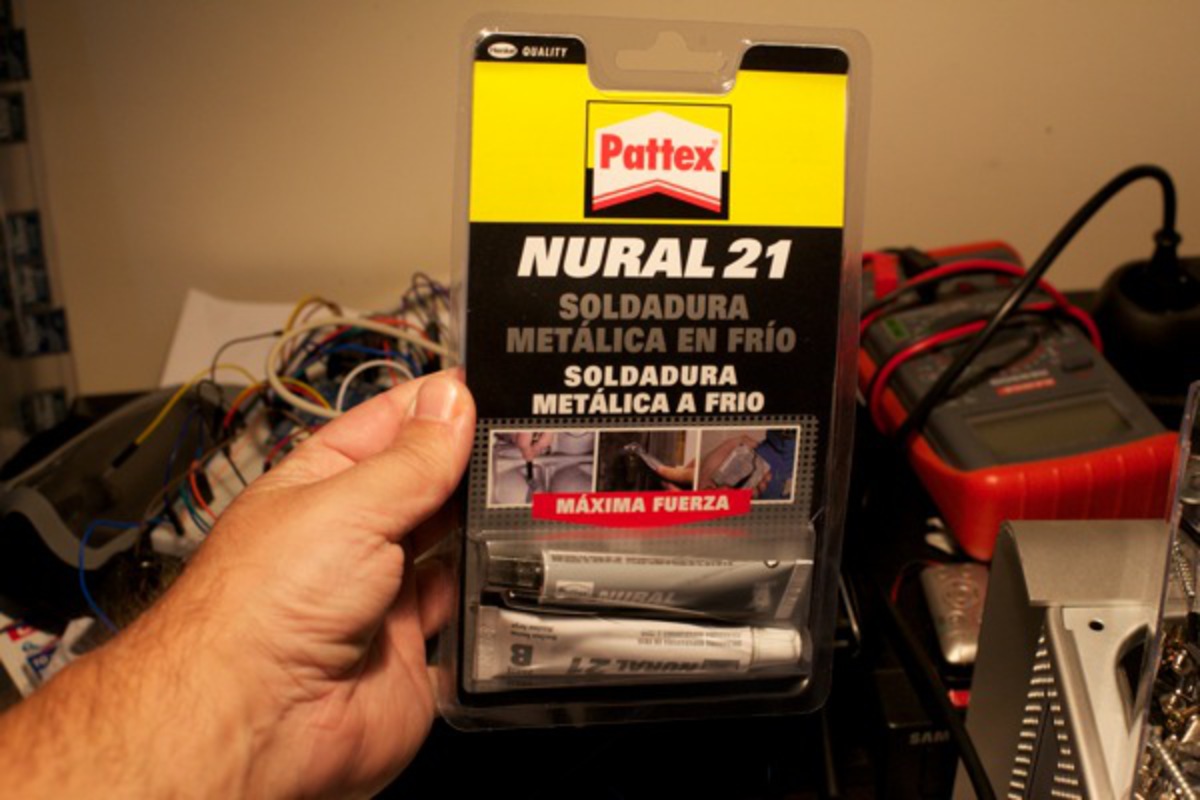
To fix the holders and motherboard to the case surface, I used Pattex Nural 21, bought it at AKI, it’s a very strong cold weld compound for metals which can resist up to 100 Kg/cm2 after hardening. That’s a lot of weight. I was reluctant at first but it turned out that the performance and efficiency of this product is truly impressive and it worked great.
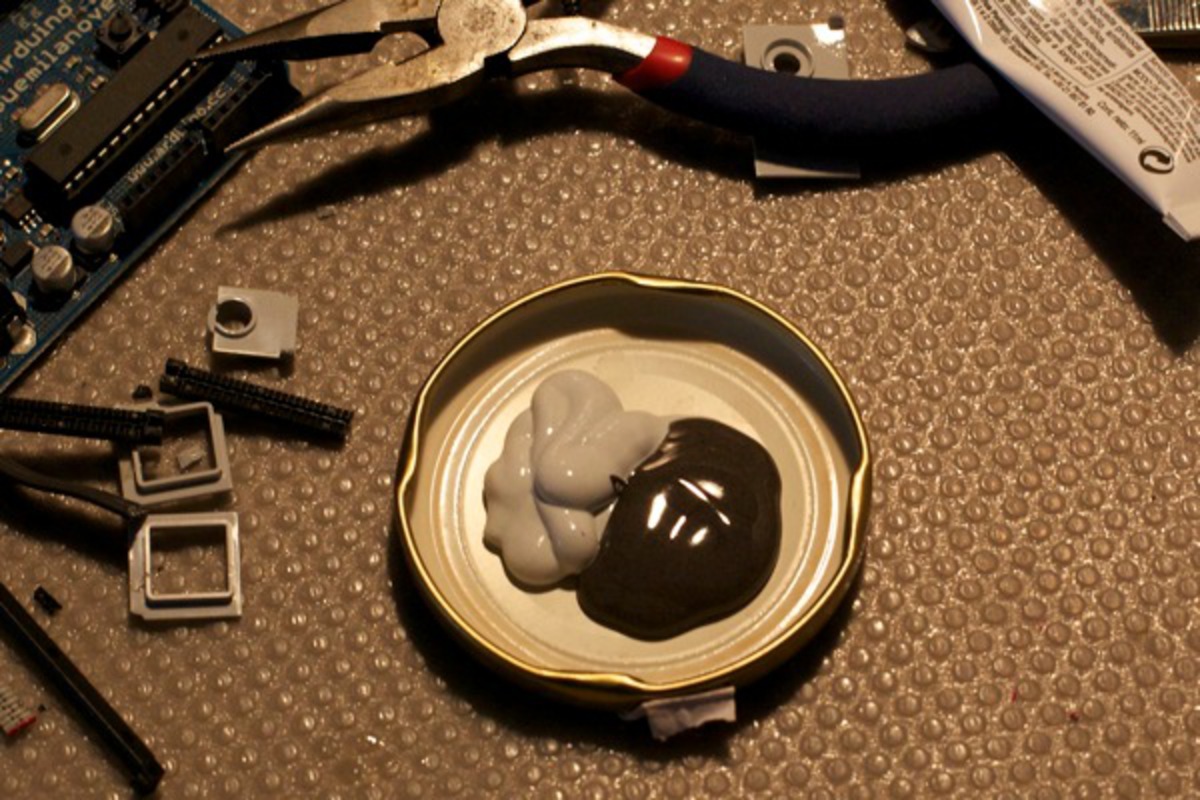
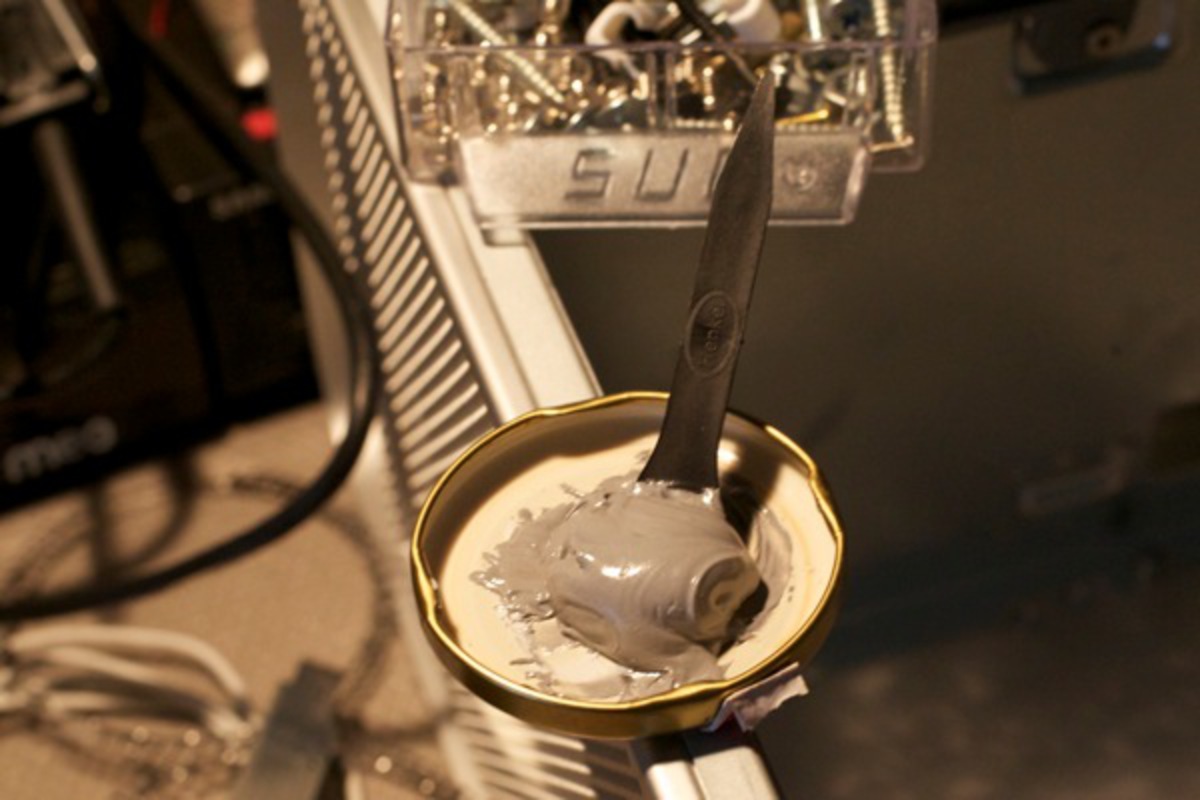
Mixing the compound.
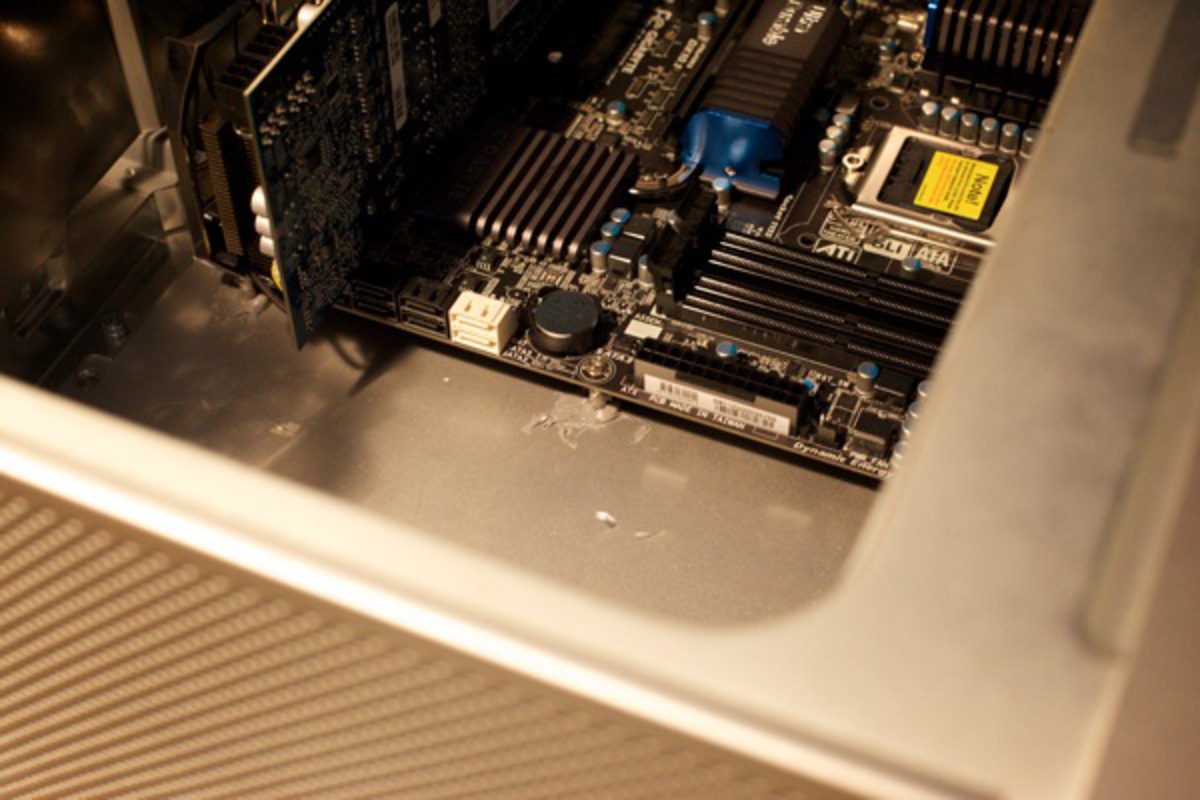
And here it is, properly applied to the 9 ATX mounting holes. I removed everything from the case, spread the compound in each of the previously marked spots (after they’ve been roughened with the dremel for extra adherence) and then dropped the motherboard on top. Then screwed the GPU to the PCI slot and slightly aligned everything. Then I waited for 12 hours.
I can tell you this worked wonders. The motherboard seems strongly fixed to the surface as it should.
The front panel
The G5 Power Mac front panel has a 3.5mm headphone jack, Firewire 400 and USB connectors, a power button and a white LED. Its inside interface though, is completely non-standard, Apple style. But it’s a darn minimalist and beautiful front panel, so I wanted it to work. Luckily there is this thing called the Internet where you can find all sorts of documents and information about the most obscure subjects. Here’s the Powermac G5 wiring diagram as found on the Interwebs. I don’t really know who to credit on these but there are a few threads on this at InsanelyMac.
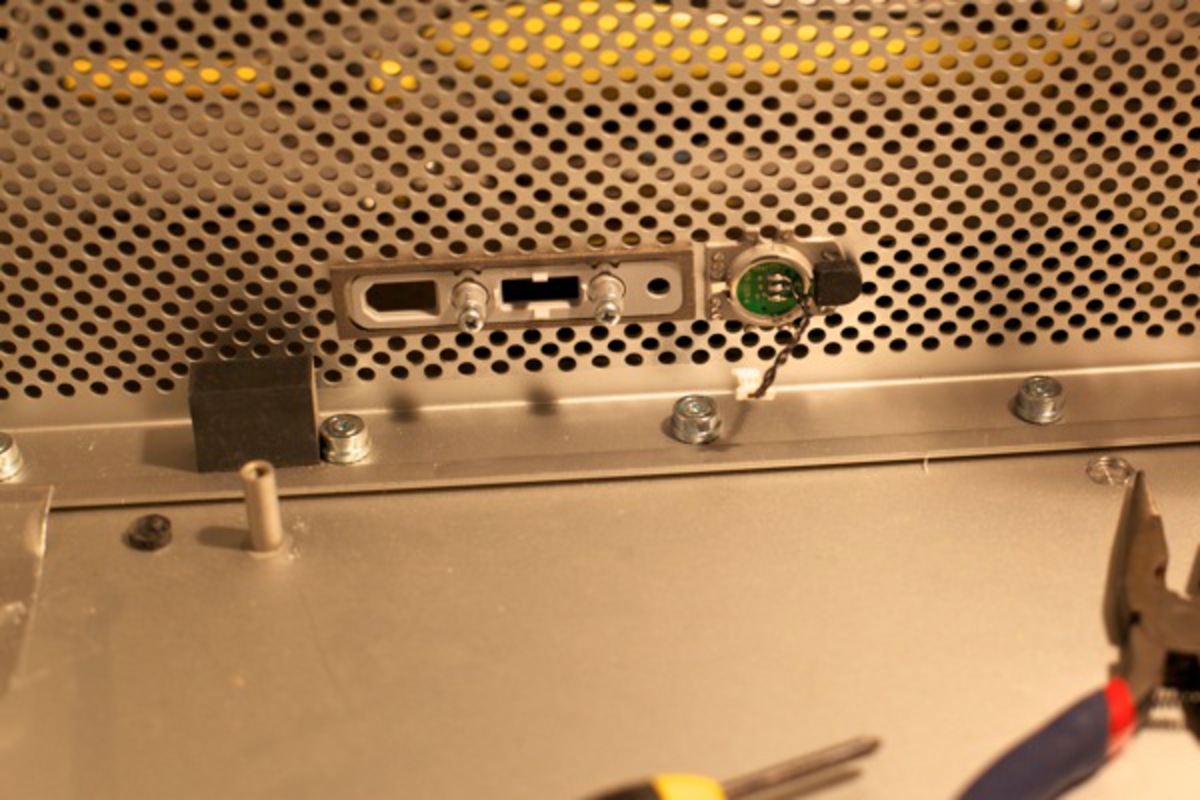
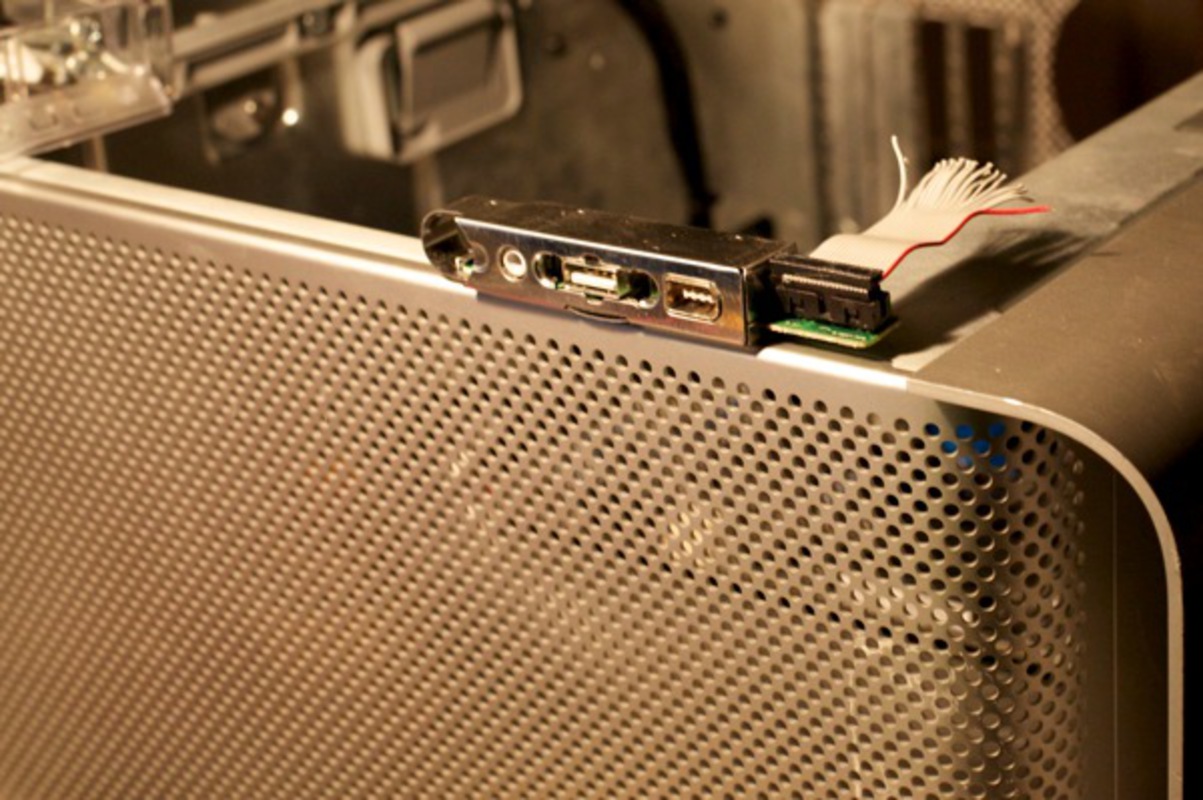
So I carefully removed the front panel. The case had been offered me with no cables whatsoever so I had to be really creative (some cases at eBay include the connecting cables which can be very handy).
The 18 pin backend connector is completely non-standard but the width and pin distance matches an old 2.5 IDE connector. So I split one apart with a small saw and attached a ribbon cable to it. Then plugged everything together and added strong Araldite two part epoxy for extra robustness. Tested all wires with the back PCB pins, all OK.
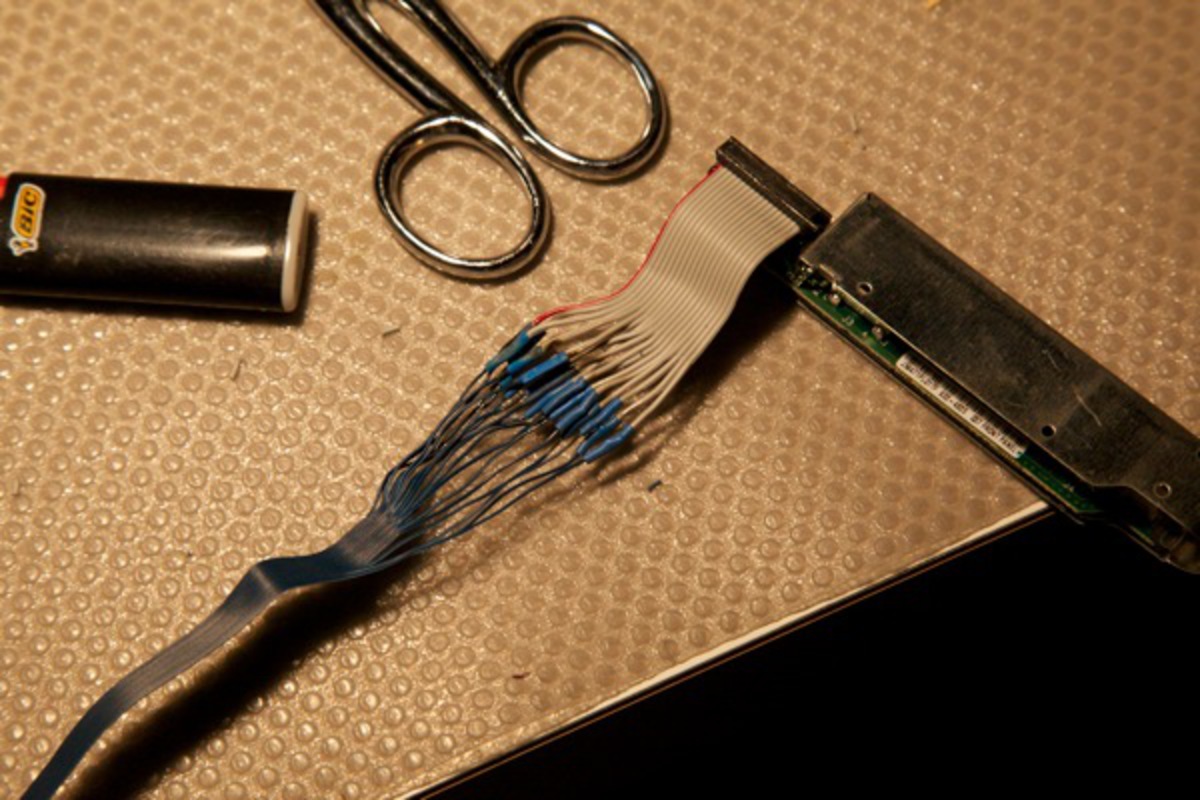
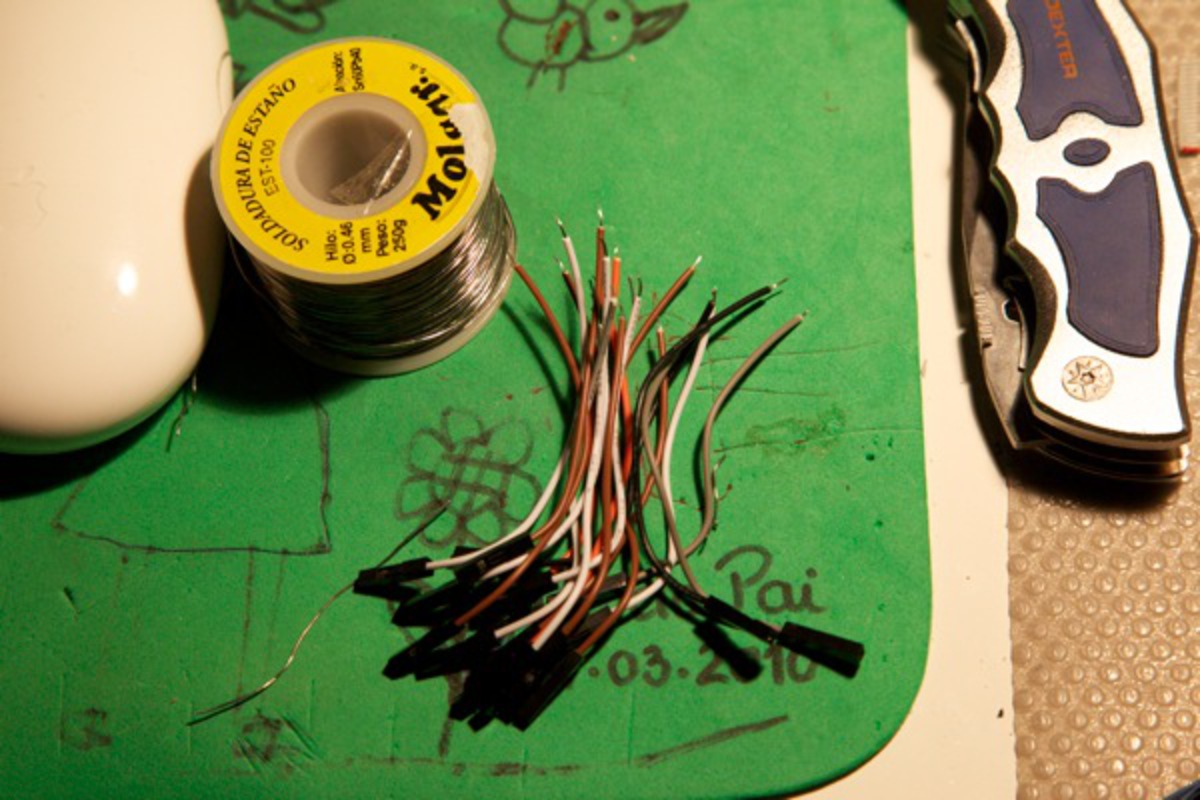
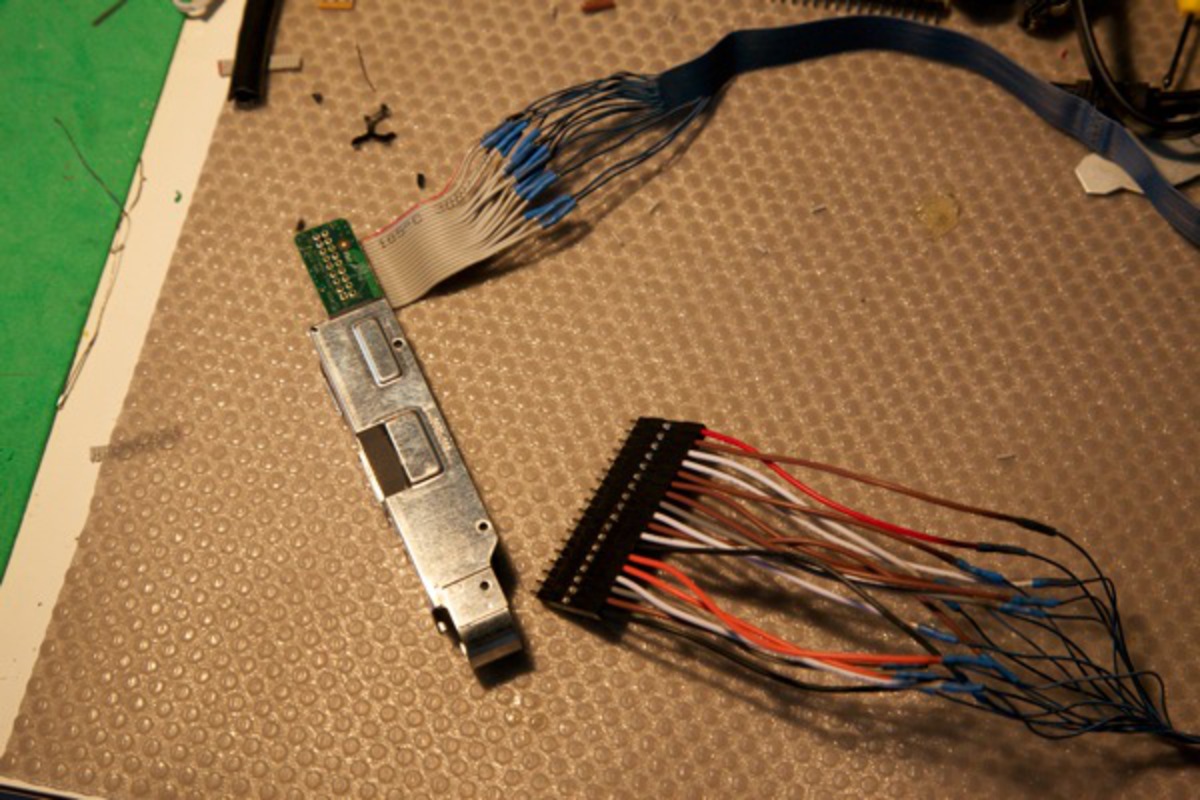
On the other end of the ribbon cables I used a couple of female breadboard jumper wires. These would be perfect to connect to the ATX motherboard connectors and pins.
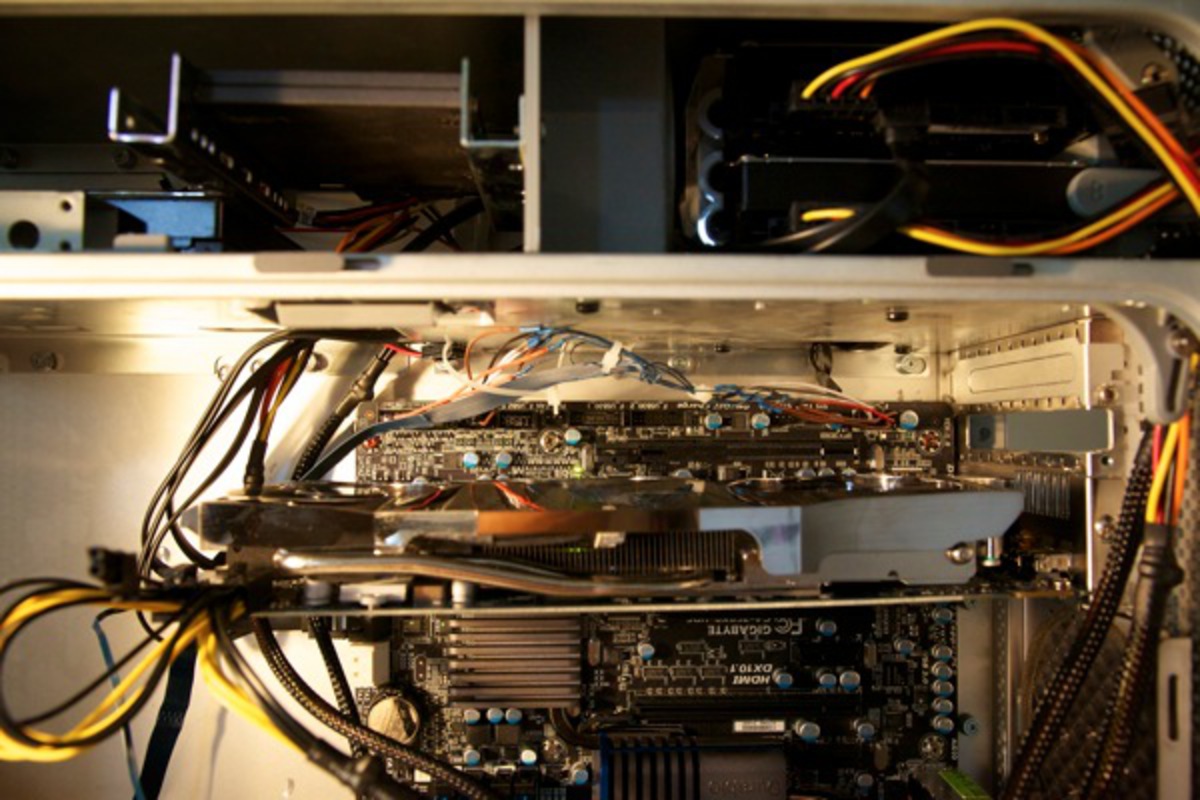
Here’s a picture with all wires connected.
Audio
Moving a few steps forward. In the end, after I connected the front panel’s audio wires to the motherboard, I noticed that I had no sound on the headphones. None. I would select headphones in the OSX’s sound preferences but nothing happened.
I spent quite a lot of time dealing with this one so I thought I’d drop a note here.
There is one pin (page 29), pin 7 FAUDIO_JD, on the Gigabyte onboard audio connector that, when connected to GND, signals the system that the headphones are plugged in. If they’re not connected, no sound will ever output from here. Connect the two and you’re OK. Headphones and line-out will both work, you’ll just have to manually select which output to use in the OS’s preferences. I’ve read about ways of enabling jack sensing on the front panel and make it work with OSX, thus enabling automatic switching from line-out to headphones when they’re connected, using simple electronics circuitry, but I haven’t tried it. Manually choosing the output line works great for me, in fact I prefer it this way because my headphones are always plugged in.
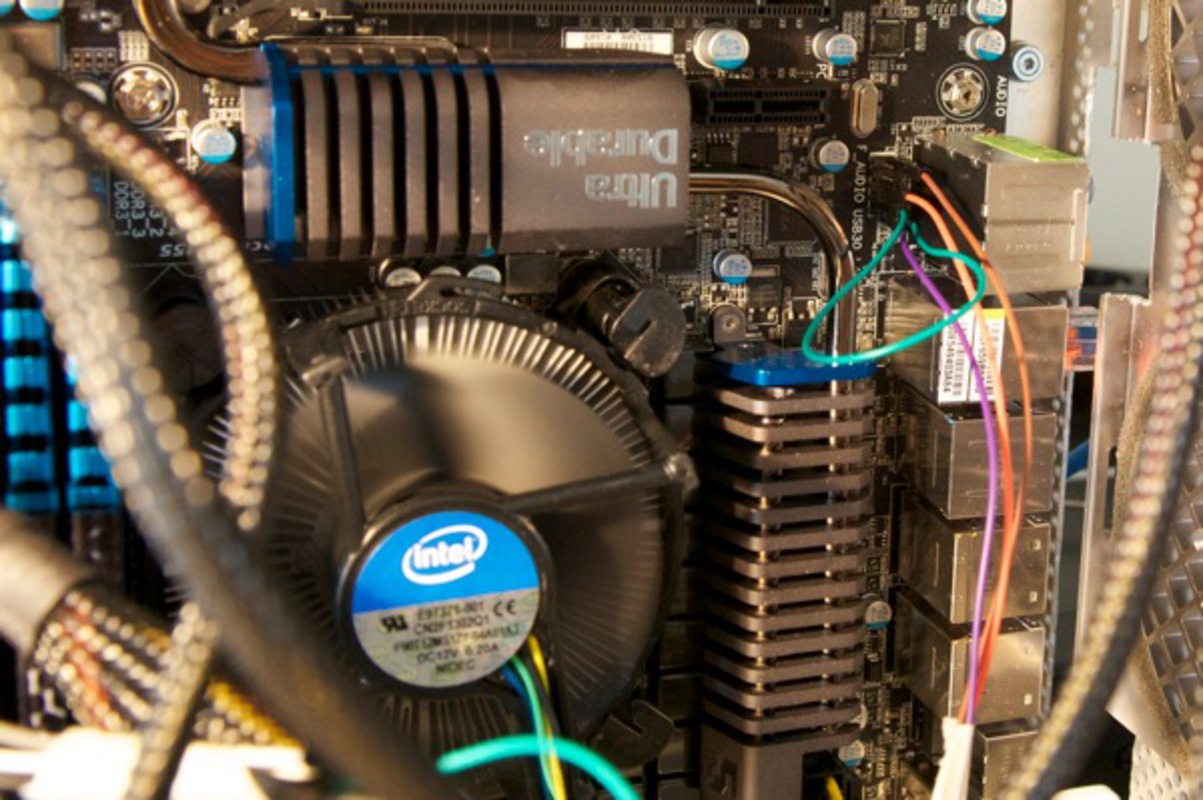
Here’s the FAUDIO_JD pin grounded (the two green wires). This fixed my front panel headphones problem.
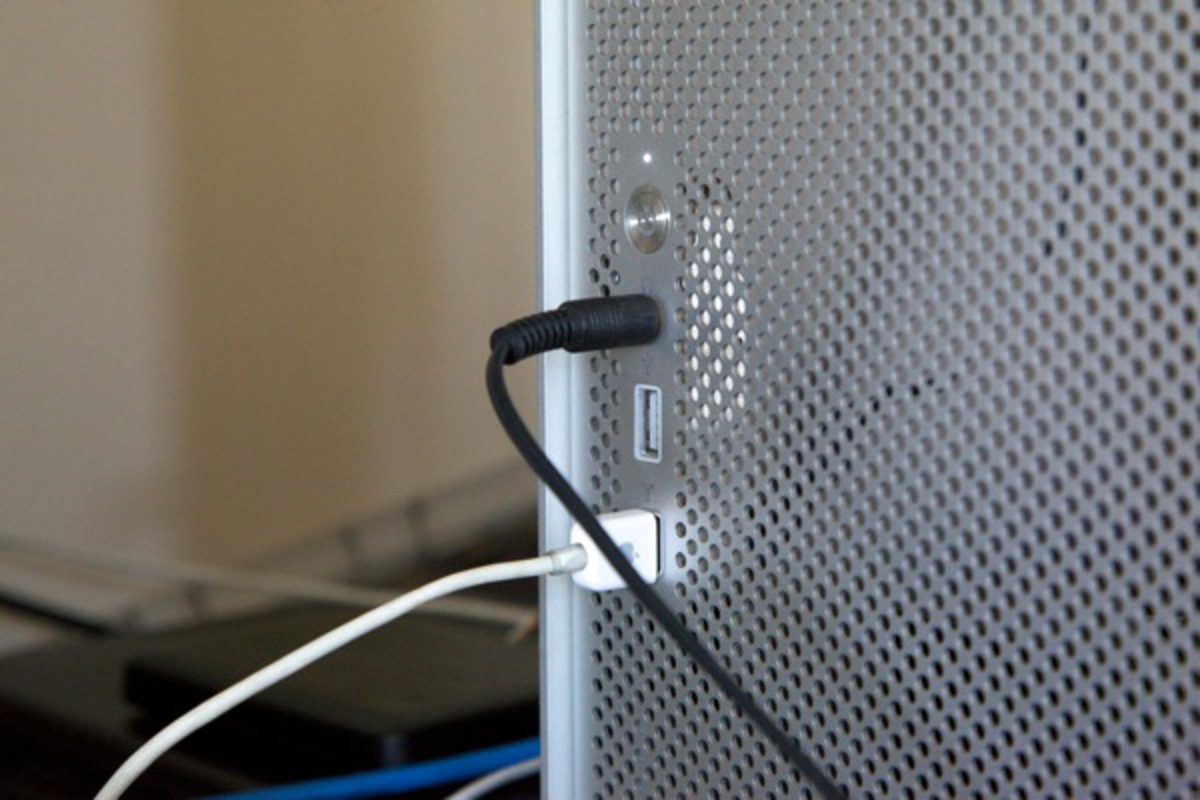
Everything works.
Power supply
There are many options (and space available, the case is big) to place the power supply inside.
I placed mine in the lower plate of the case, just near the front. It’s a great spot for 3 reasons. First, from here the power cables reach all board connectors and disks. Second, there’s space there and you won’t need complex mechanisms to hold the PSU in place. Third, ventilation seems right as the hot air from the fans will come out from the front panel holes.
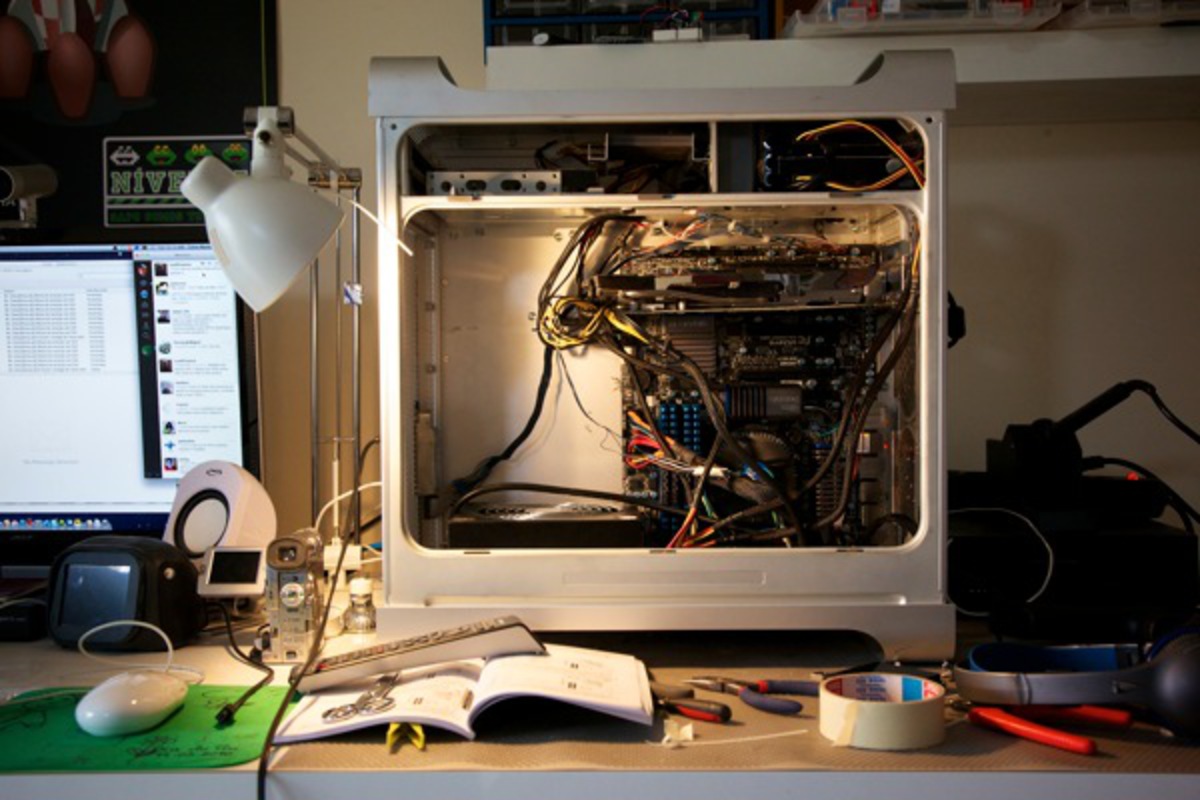
Here’s a picture with everything in place and connected. My two 1TB HDDs are placed at the top right and the SSD boot disk is at the top left.
One final note. I opened up the PSU and soldered the mains power cable directly inside, instead of using the bulky 220V connector. This saved a lot of space in the front of the PSU, allowing me to push it near the front plate.
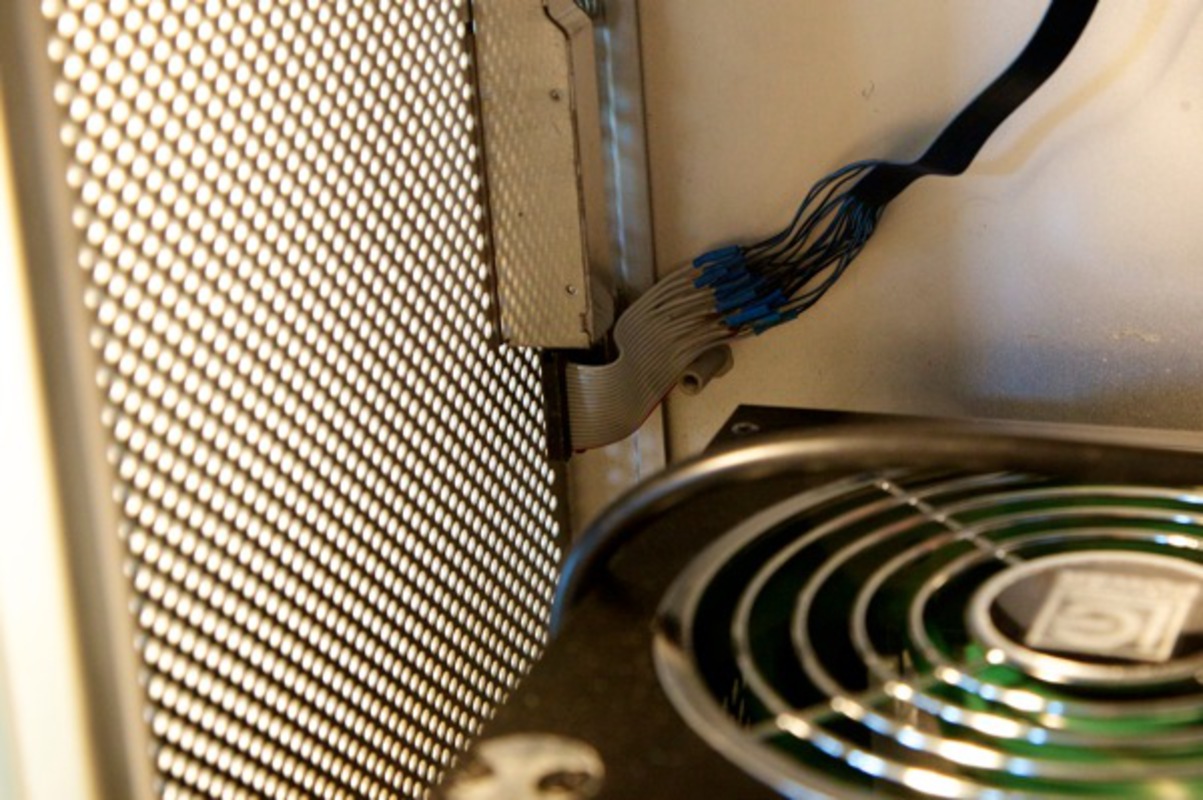
Here’s what I’m talking about.
Ventilation
You may have noticed that I don’t have many ventilation fans inside. Here’s why: The air flows extremely well inside the box, both the front and back plates have holes all over and you feel the hot air flowing out. Also, the case is made of aluminum, which is highly thermal conductive. Also, the CPU, GPU and PSU have their own ventilation fans. Also, modern Intel processors like the i7 are more thermally efficient than others in the past, I’ve been told. Finally, I’ve been measuring the CPU temperature using a special widget in my menu bar all the time, and even when doing the most intensive tasks (like transcoding video with FCP), CPU temperature never exceeds the 60-70ºC range, which is OK. It’s winter though. so I’ll keep this under surveillance for now, if it becomes a problem in the summer, I have plenty of space inside to add one or two extra fans.
Final notes
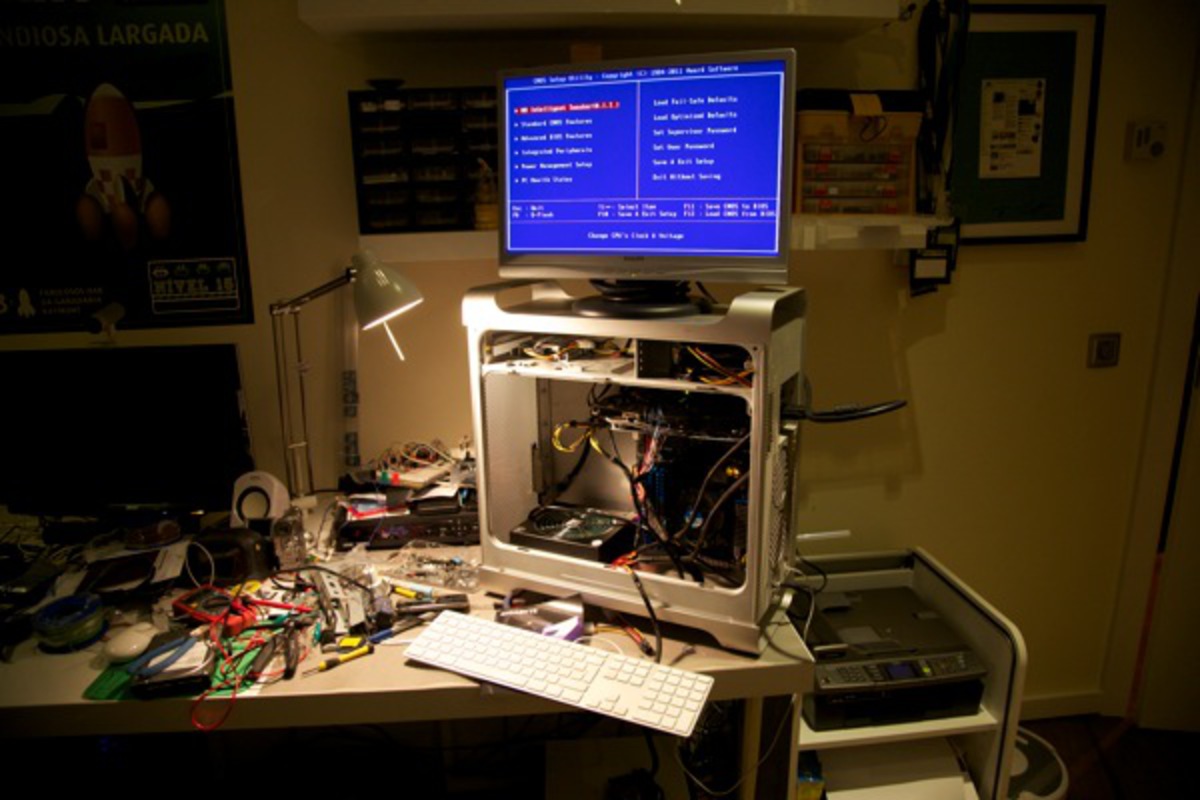
First power on. No surprises.
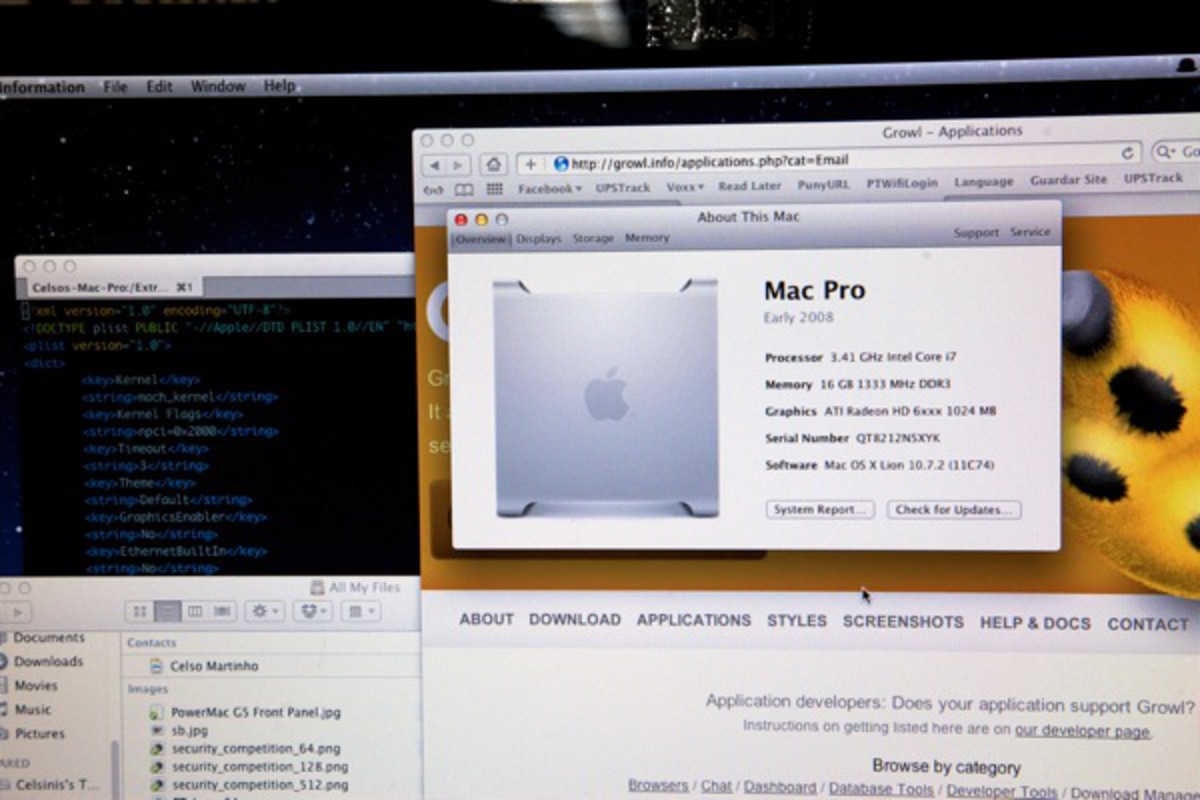
First screens, after a standard (and very legal) Lion installation. The “Mac Pro” designation is fake, obviously, I can call it whatever I want.
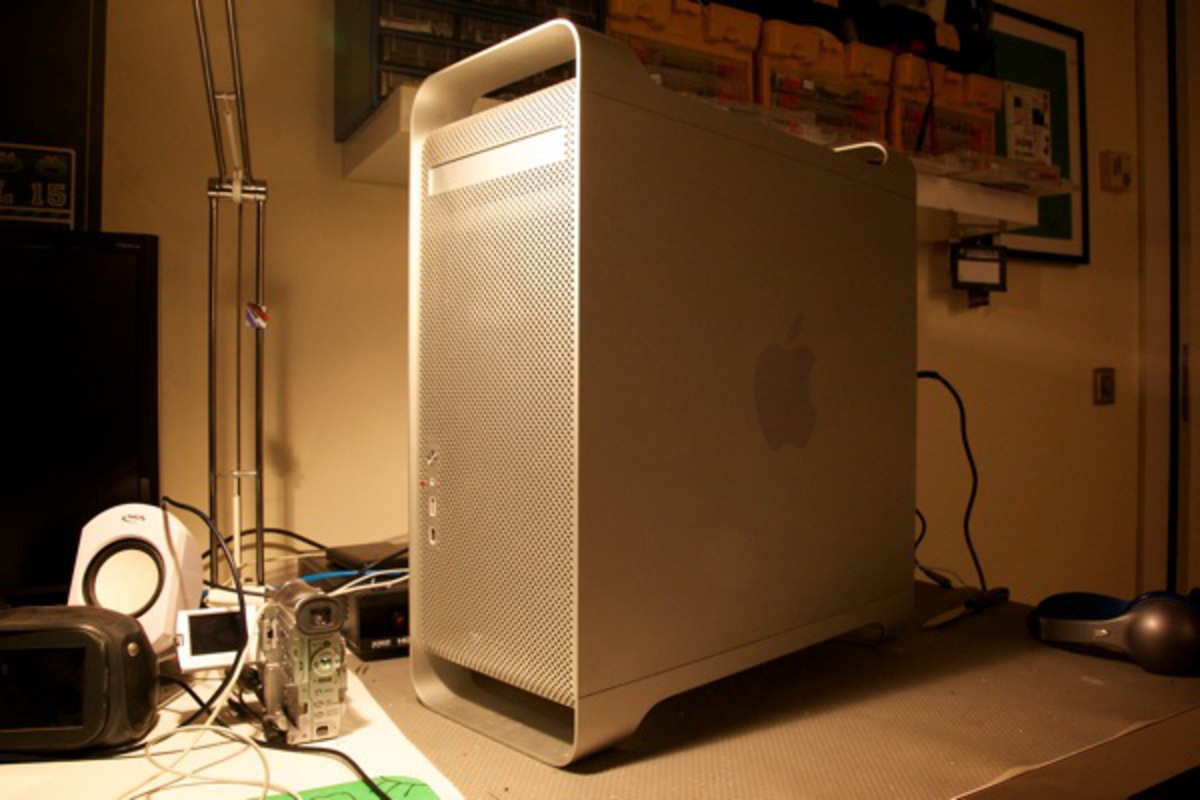
Closed the case. Notice the little red LED just near the front panel’s white LED. I placed it at the last minute to signal disk activity, because I think it’s useful info (unlike what Apple thinks). Anyway, work of art eh?
I won’t go into many details regarding software. There are tons of info and guides on how to install an hackintosh available already. If you’re newbie, I highly recommend starting with Tony Mac, home of the Multibeast and the DSDT database.
The hardware I’m using is very well supported without any major hacks. I have the accelerated Radeon 6870 GPU (to which I connect two DVI monitors, but it supports more), audio, network and sleep (hibernate) fully working now, mostly out of the box, without any major hacks or .kexts.
This beast has major horse power in it, trust me. I got an SSD with TRIM support in Lion working and I use it to boot the system and host the /Applications. Then all my data is stored on a standard SATA II 1TB RAID array. Everything runs smoothly and impressively fast. HD video editing is a breeze now.
Despite this hardware hack, I should point out that I don’t support any kind of piracy or unlawful activities around here. This system runs legally bought software only as all my other systems do, as it should. My motivation for doing this project exceeds the price perspective, it has mostly to do with fun, experimentation and learning, and an uncontrollable taste for all things computer vintage.
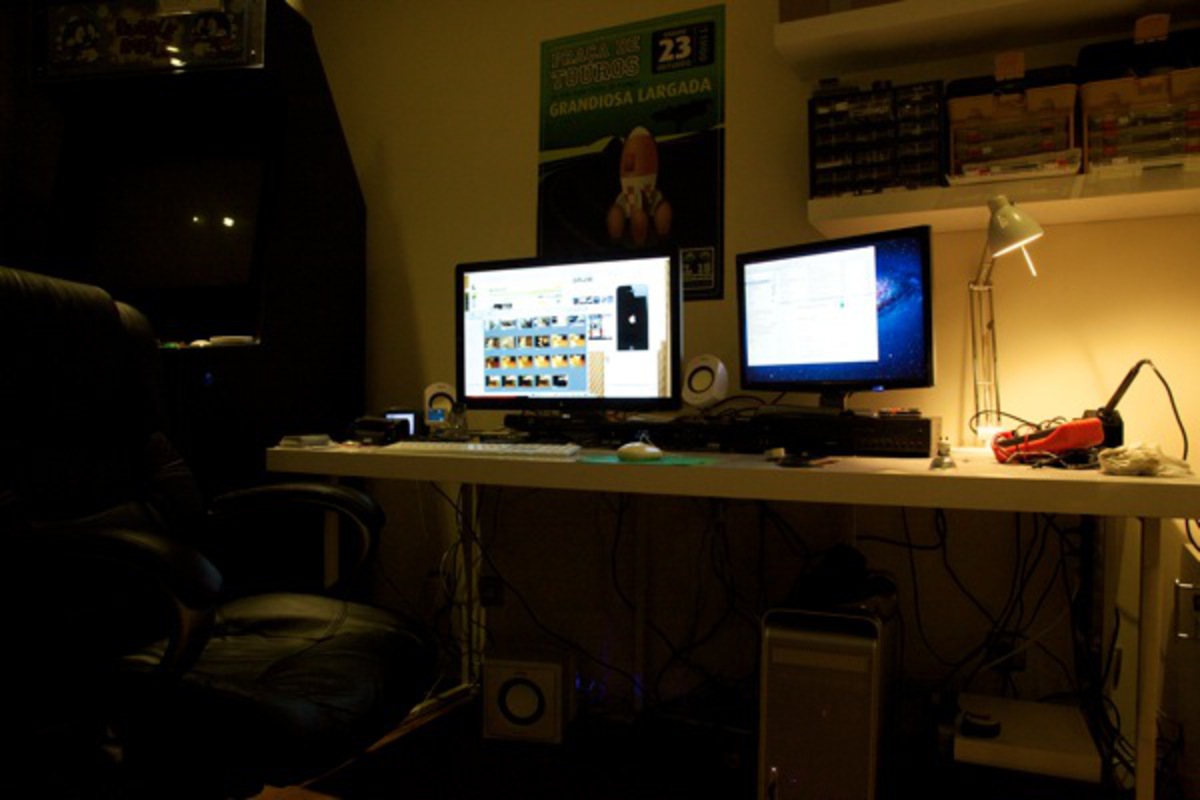
My new office.
Hope you enjoyed reading this. Hi-res photos here. Questions? Use the comments.